The most common beginner mistakes are using stale coffee, guessing the dose, choosing the wrong grind and neglecting cleaning. Fix those first, then adjust water temperature to suit the coffee and brewing method, changing one thing at a time rather than starting again with a different recipe.
In short
- Pre-ground coffee is a practical choice when it is reasonably fresh and ground for your brewer.
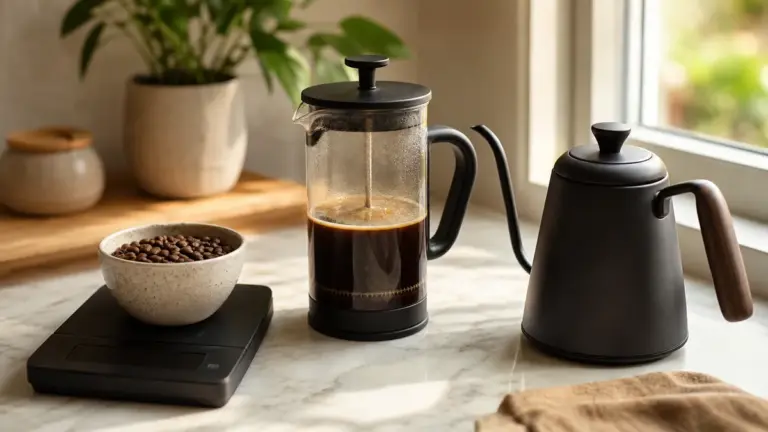
- Weigh both coffee and brewing water. A repeatable starting point for a cafetière is 15 g coffee to 240 g water, a coffee-to-water ratio of 1:16.
- 92 to 96°C is a useful starting range for many hot brewing methods, not a universal requirement.
- Keep coffee sealed, cool and dry, away from sunlight and heat.
- Remove old grounds and coffee oils regularly. Descaling tackles mineral deposits, not the same problem.
Common beginner mistakes: fix the basics first
A disappointing cup is feedback, not a verdict on your ability. Before blaming the beans or replacing your coffee maker, check what you used, how you measured it and whether the equipment was clean.
Start with a familiar coffee and one brewing method. The coffee for beginners hub provides the wider learning path; here, the aim is to identify the habit most likely to be spoiling your next cup.
Using stale coffee, or dismissing all pre-ground coffee
Coffee gradually loses aroma after roasting. Grinding speeds up the release of gases and aroma compounds, which is why grinding immediately before brewing helps preserve the coffee’s character.
However, pre-ground coffee is not automatically a mistake. If you do not have a grinder, coffee ground appropriately for your brewer is a sensible way to begin. Buy a manageable quantity, seal it promptly after opening and follow the supplier’s storage advice.
The mistake is treating an open bag as though its flavour will remain unchanged indefinitely. If the coffee has become noticeably flat or stale, compare it with a newly opened bag before trying increasingly elaborate brewing adjustments.
There is no single freshness deadline that suits every roast, package and storage condition. Use dates as useful information, not as a substitute for smelling and tasting the coffee.
Storing coffee where it looks attractive rather than where it keeps well
A clear jar beside the kettle is convenient, but it exposes coffee to light and potentially heat. An open packet also leaves the contents exposed to air and moisture.
For everyday use, choose an airtight, opaque container in a cool, dry cupboard. Keep it away from the oven, dishwasher and sunny windowsill. If using the original packet, check that its closure seals properly rather than merely folding the top loosely.
Do not leave your entire supply in a grinder hopper simply because it fits. Add what you expect to use soon and keep the rest protected.
Good storage slows deterioration; it does not restore lost aroma. Moving already stale coffee into a better container will not make it fresh again.
Using scoops instead of scales
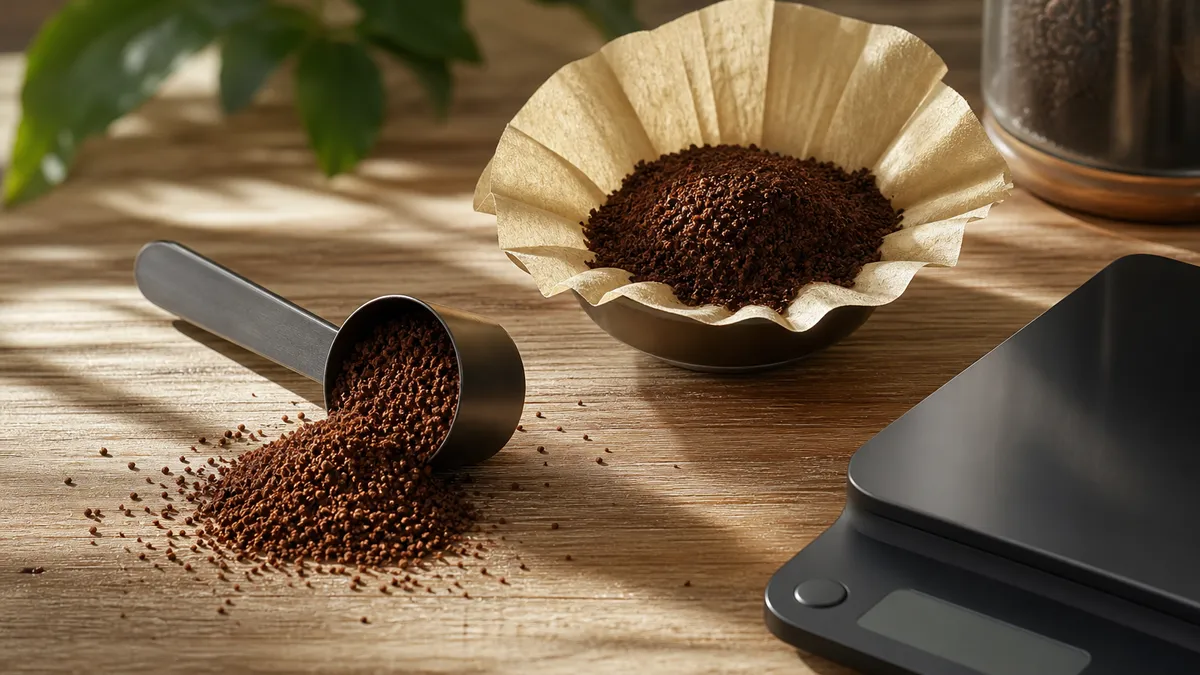
A scoop measures volume, while a brewing recipe needs a repeatable quantity of coffee. A level scoop and a heaped scoop are different doses, even before you change coffee.
Weighing removes that uncertainty. Put your container on the scales, press tare to return the reading to zero, then add the coffee. Measure the brewing water too, rather than filling whichever mug happens to be nearby.
For a simple cafetière starting point, 15 g coffee and 240 g water gives a 1:16 ratio by weight. That is an example to adjust to taste, not a rule for espresso or every other brewer.
If you already have suitable kitchen scales, start there. The home coffee starter kit explains the supporting equipment without turning this troubleshooting guide into a shopping list.
Using one grind for every brewing method
Grind size affects how water moves through coffee and how readily material is extracted. Extraction means dissolving substances from the grounds into the brewing water.
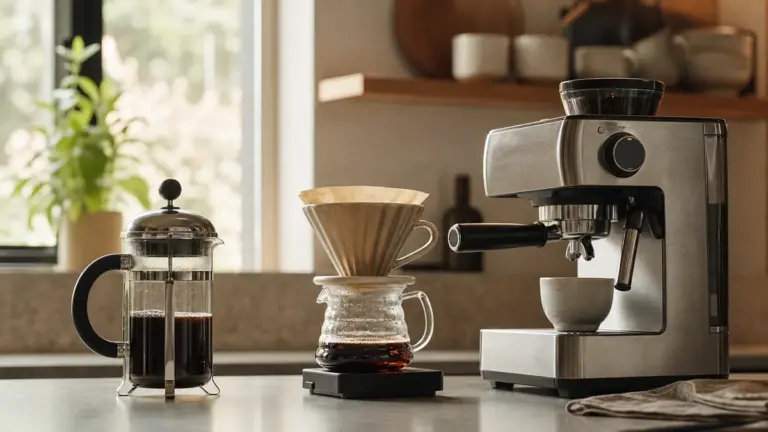
A cafetière commonly starts with a coarse grind. Espresso requires a much finer grind, while pour-over recipes specify settings suited to their particular brewer and technique. A packet labelled “ground coffee” is therefore not enough information on its own.
If buying pre-ground, tell the supplier exactly which brewer you use. If grinding at home, begin with the grinder or brewer manufacturer’s guidance.
For a pour-over that drains unusually slowly, try a slightly coarser grind while keeping the dose and pouring method unchanged. If it drains quickly and tastes thin and sharply sour, a slightly finer setting is a reasonable next experiment.
Treat those symptoms as clues, not proof. Grind is influential, but it is not the only variable that affects the result.
Getting water temperature wrong, not simply using boiling water
“Never use boiling water” is too blunt to be useful. The real mistake is using a temperature poorly matched to the coffee, brewing method and rest of the recipe.
The Specialty Coffee Association’s earlier brewing guidance gives 92 to 96°C as a recommended range. It is a useful starting point for many light and medium roast hot brews, rather than a guarantee of the best flavour.
“Just off the boil” does not identify an exact temperature. If you want to know whether your water is within that range, measure it rather than assuming that a fixed wait always produces the same result.
With a dark roast that tastes harsh, trying cooler water is a reasonable adjustment. But the stronger claim that 100°C water inevitably over-extracts dark coffee is not a dependable universal rule. Nor is “burning the grounds” a helpful explanation: the brewing process is extracting already roasted coffee.
Controlled research also challenges the idea of one ideal temperature. In a peer-reviewed drip-coffee experiment, researchers tested 87, 90 and 93°C, adjusting other brewing variables to hold strength and extraction constant. Temperature alone had little effect on the sensory profile under those conditions.
That does not make temperature irrelevant. It shows why a temperature recommendation must be understood alongside grind, contact time and the amount of coffee and water used. Begin with a supported recipe, then adjust according to what you taste.
Letting dirty equipment undo good brewing
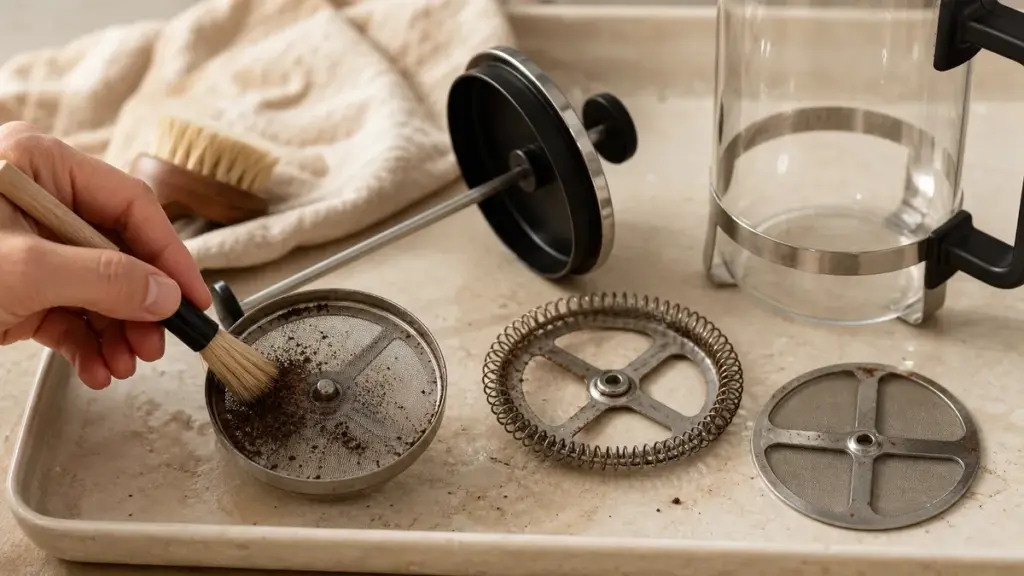
Fresh coffee cannot compensate for old residue in the brewer. Coffee oils accumulate on brewing and serving surfaces, and stale residues can affect the next drink’s flavour.
Empty used grounds after brewing. Wash removable parts as the manufacturer directs, including the cafetière filter assembly rather than just the glass beaker. Rinse thoroughly and allow parts to dry.
For machines, follow the specified cleaning programme and use compatible products. Do not assume that every component can go in the dishwasher or be soaked.
Cleaning and descaling are different jobs. Cleaning removes coffee oils and other residues; descaling removes mineral deposits. Running a descaling cycle does not replace the routine needed to remove coffee residue.
Before changing your beans because every cup has the same unpleasant aftertaste, clean the equipment properly and brew again.
Changing everything after one disappointing cup
Changing grind, dose, temperature and brewing time together makes the next result difficult to interpret. Even if the coffee improves, you cannot tell which adjustment helped.
Keep the coffee and method fixed, then change one variable. Write down what you changed and describe the result in ordinary words: thinner, fuller, sharper, sweeter or more drying.
Also distinguish strength from extraction. Strength describes the concentration of coffee material in the drink; extraction describes how much material was removed from the grounds. A more concentrated cup is not automatically a better-extracted cup.
Do not use “strong” as shorthand for every quality you want. For the separate question of stimulant content, read strength versus caffeine.
A simple reset for your next brew
This cafetière exercise is a troubleshooting baseline, not a replacement for a full brewing guide. Use a pot large enough for the water and grounds, and follow its safety instructions.
- Clean the brewer. Check the filter assembly and beaker for trapped grounds and oily residue.
- Weigh 15 g of coffee. Use a coarse grind intended for a cafetière.
- Prepare 240 g of brewing water, approximately 240 ml when measured at room temperature. Aim for 94°C as a starting temperature.
- Add the water and start a timer. Wet all the grounds. At about one minute, gently stir with a utensil suitable for your brewer.
- Steep for about four minutes in total. Plunge gently according to the manufacturer’s instructions, then pour out the coffee.
- Record the result. Keep the dose, water quantity and timing unchanged for the next comparison; alter only the variable you are investigating.
Use this table to choose that next experiment. These are starting hypotheses, not diagnoses.
| Symptom | Likely cause to investigate | First fix |
|---|---|---|
| Coffee tastes flat or stale | Ageing coffee or poor storage | Compare with a newly opened bag |
| The same recipe varies between brews | Inconsistent coffee or water quantities | Weigh both and record them |
| Pour-over drains slowly and tastes harsh | Grind too fine for the recipe | Try a slightly coarser setting |
| Pour-over drains quickly and tastes thin and sour | Grind too coarse for the recipe | Try a slightly finer setting |
| Every coffee has a similar stale aftertaste | Residue in brewing or serving equipment | Clean before changing the recipe |
The useful endpoint is not a perfect-looking brew. It is a cup you enjoy and a method you can repeat. Common beginner mistakes become much easier to fix once you have a reliable comparison.
FAQ
Must I drink coffee black to learn what I like?
No, you can learn while drinking coffee with milk or other additions. For a useful comparison, keep those additions consistent between brews. You might taste a small amount before adding milk, then finish the drink as you prefer. Treat that as an optional learning exercise, not an entrance requirement.
What should I write in a coffee notebook?
Record the coffee, grind setting, coffee and water weights, water temperature, brewing time and a short taste description. Finish with the single change you intend to make next. There is no need for elaborate tasting vocabulary: “less sharp than yesterday, but still too thin” gives you a useful direction.
Should I replace my coffee maker if the fixes do not help?
Not immediately. First check that you are using a recipe intended for that brewer, suitable grounds and properly cleaned equipment. If possible, ask someone familiar with the method to observe your routine. Consider replacement only after identifying a limitation or fault, rather than treating a disappointing cup as evidence that the brewer is unsuitable.
Where to go next
Read Coffee for Beginners for the wider learning sequence, then The Home Coffee Starter Kit to check which tools support a repeatable routine. Coffee Strength vs Caffeine is the useful next read if “strong” still feels like an ambiguous description.
Sources
-
National Coffee Association, “Storage and shelf life”, undated web guidance, checked November 2026. Storage conditions, freshness and the effects of ageing.
URL: https://www.aboutcoffee.org/beans/storage-and-shelf-life/. -
Specialty Coffee Association, Samo Smrke, “The Science of Coffee Freshness”, Expo Lectures 2019, lecture and transcript. Aroma loss, degassing and the effects of grinding.
URL: https://sca.coffee/sca-news/podcast/81/the-science-of-coffee-freshness-samo-smrke-expo-lectures-2019-6lrbe. -
Speciality Coffee Association of Europe, “Coffee Basics Brochure”, page 2, undated legacy guidance hosted by BUNN. The recommended temperature range is presented here as earlier guidance, not as a current universal standard.
URL: https://resource.bunn.com/library/eZine/coffee_basics_brochure_scae_english/files/basic-html/page2.html. -
Batali, M. E., Ristenpart, W. D. and Guinard, J.-X., “Brew temperature, at fixed brew strength and extraction, has little impact on the sensory profile of drip brew coffee”, Scientific Reports, 10, article 16450, 2020, updated following an author correction in 2021. Controlled brewing and sensory experiment.
URL: https://www.nature.com/articles/s41598-020-73341-4. -
National Coffee Association, “French press coffee”, undated web guidance, checked November 2026. Grind, ratios, brewing temperature, timing and cleaning.
URL: https://www.aboutcoffee.org/brewing/french-press-coffee/. -
Baratza, “Switching Grind Settings with Confidence”, undated manufacturer guidance, checked November 2026. Grind adjustments, flow, flavour and recording variables.
URL: https://www.baratza.com/en-us/blog/product-guides/switching-grind-settings-with-confidence. -
Baratza, “Don’t Waste Your Grind: A Simple Approach to Sustainable Brewing”, undated manufacturer guidance, checked November 2026. Weighing doses and avoiding prolonged hopper storage. No environmental claims from this page are adopted here.
URL: https://www.baratza.com/en-us/blog/coffee-education/don-t-waste-your-grind. -
Urnex, “FAQs”, undated manufacturer guidance, checked November 2026. Coffee-oil residue and the distinction between cleaning and descaling.
URL: https://urnex.com/faqs.
This article was researched using coffee-association guidance, a peer-reviewed controlled brewing experiment and manufacturers’ instructions, with practical suggestions distinguished from universal rules.
Last checked: November 2026