To make good coffee at home, use fresh coffee, weigh the coffee and water, and follow one repeatable recipe before changing anything. For a straightforward cafetière brew, start with 30 g of coffee and 500 g of water at about 94°C, leave it for four minutes, then press gently and pour.
In short
- Start filter or cafetière brewing at 60 g per litre, approximately a 1:16.7 coffee-to-water ratio by weight.
- Grind just before brewing where possible, using a grind suited to your coffee maker.
- Use 90 to 96°C as a practical starting range for these methods, not a rule for every coffee maker.
- Choose clean, pleasant-tasting drinking water and keep the brewer, filter and serving jug clean.
- When something tastes wrong, change one thing at a time and record the result.
Start with coffee you enjoy, then protect its freshness
Choose coffee with a roast date where possible, and buy quantities you can use without leaving an opened bag sitting around. Ask the roaster when they recommend starting to brew it: freshly roasted coffee releases carbon dioxide, so the newest possible beans are not automatically the easiest to brew consistently.
There is no useful universal deadline after which every coffee becomes stale. Packaging, storage and the coffee itself affect how it changes. Treat freshness as something to manage, rather than a competition to drink beans straight from the cooling tray.
Keep coffee tightly sealed in a cool, dry, dark cupboard, away from the kettle, cooker and sunlight. A properly resealed coffee bag is a sensible place to start. Avoid leaving your whole supply exposed in an open container.
If you are unsure what to buy, choosing your first beans is the useful next step. For now, keep the same coffee while learning your recipe, so that a different bag does not disguise what your brewing changes have done.
Grind fresh and match the grind to the brewer
Grinding exposes more of the coffee to its surroundings and speeds up the loss of gas and aroma. Grinding immediately before brewing helps preserve those aromas, but the grind must also suit the brewing method.
For the cafetière recipe below, begin with a coarse grind: recognisable particles rather than espresso-like powder. For paper-filter brewing, follow the brewer’s instructions, which will generally call for a finer grind than a conventional cafetière recipe.
An adjustable burr grinder crushes beans between grinding surfaces and gives more control over particle size than a blade grinder, which chops them. No grinder makes every particle identical, but a more consistent grind makes adjustments easier to interpret.
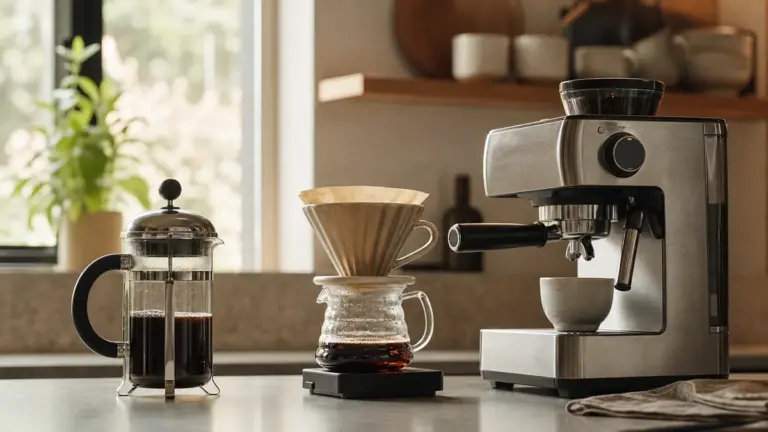
Do not assume that the coarsest setting is always correct for a cafetière. Start with the grinder maker’s suggested setting, then adjust by taste. If you need help deciding which brewing method suits your routine, read about choosing a first coffee maker rather than changing equipment midway through troubleshooting.
Weigh the coffee and water
A scale turns “that was a good cup” into something you can repeat. Weigh the dry ground coffee and the water added to the brewer, rather than relying on a scoop or the size of your mug.
A useful starting point for filter and immersion brewing is 60 g of coffee per litre of water. In a weighed kitchen recipe, use 60 g of coffee for 1,000 g of water, giving a coffee-to-water ratio of approximately 1:16.7. This sits between 1:16 and 1:17.
For example:
- 15 g coffee with 250 g water for a smaller brew.
- 30 g coffee with 500 g water for a larger brew.
These are starting recipes, not definitions of good coffee. The Specialty Coffee Association’s 2024 sample-preparation standard allows 55 to 60 g per litre for filter or French press batches used in descriptive assessment. Your preferred drinking recipe may differ.
Grams and millilitres of water are close enough for ordinary kitchen measuring, but not exactly interchangeable at brewing temperature. Weighing the water avoids that complication. Also, measure the water going into the brewer: some remains with the wet grounds, so the finished drink will weigh less.
Use suitable water and sensible heat
Start with the water you already have
Use fresh drinking water that tastes pleasant on its own. If your tap water has an intrusive taste or smell, compare the same coffee recipe using appropriately filtered drinking water before changing the beans or grind.
Hardness and alkalinity are different. Hardness mainly concerns dissolved calcium and magnesium; alkalinity describes how strongly water neutralises acids. High alkalinity can mute coffee’s acidity, so a flat-tasting brew is not always a problem with the coffee.
Check your own water supplier’s local report rather than assuming all UK tap water behaves alike. Thames Water, for example, provides postcode-based water-quality information. If considering a filter, check what its cartridge actually removes: do not assume every filter changes mineral content in the same way.
You do not need to formulate mineral water to begin making enjoyable coffee. First establish whether changing the water makes a noticeable improvement in your own recipe.
Aim for a range, not a magic temperature
For the filter and cafetière methods discussed here, 90 to 96°C is a practical starting range. Around 94°C is a useful first setting; the SCA’s published 2017 home-brewer requirements specify 92 to 96°C at the coffee bed.
Without temperature control, boiling the kettle and waiting roughly 30 to 60 seconds is a workable routine, but it does not guarantee a particular temperature. Water quantity, kettle construction and room conditions all affect cooling.
Boiling water does not “burn” roasted coffee in the roasting sense. Illy describes roasting temperatures reaching 200 to 230°C, while AeroPress explicitly permits boiling water in its brewing instructions. However, that does not mean hotter water always tastes better: temperature changes extraction, and a recipe may become more bitter or less balanced.
A simple cafetière recipe for good coffee at home
This is an editorial starting recipe, combining a weighed dose with the conventional four-minute cafetière method. It is not a claim that every coffee needs exactly these settings.
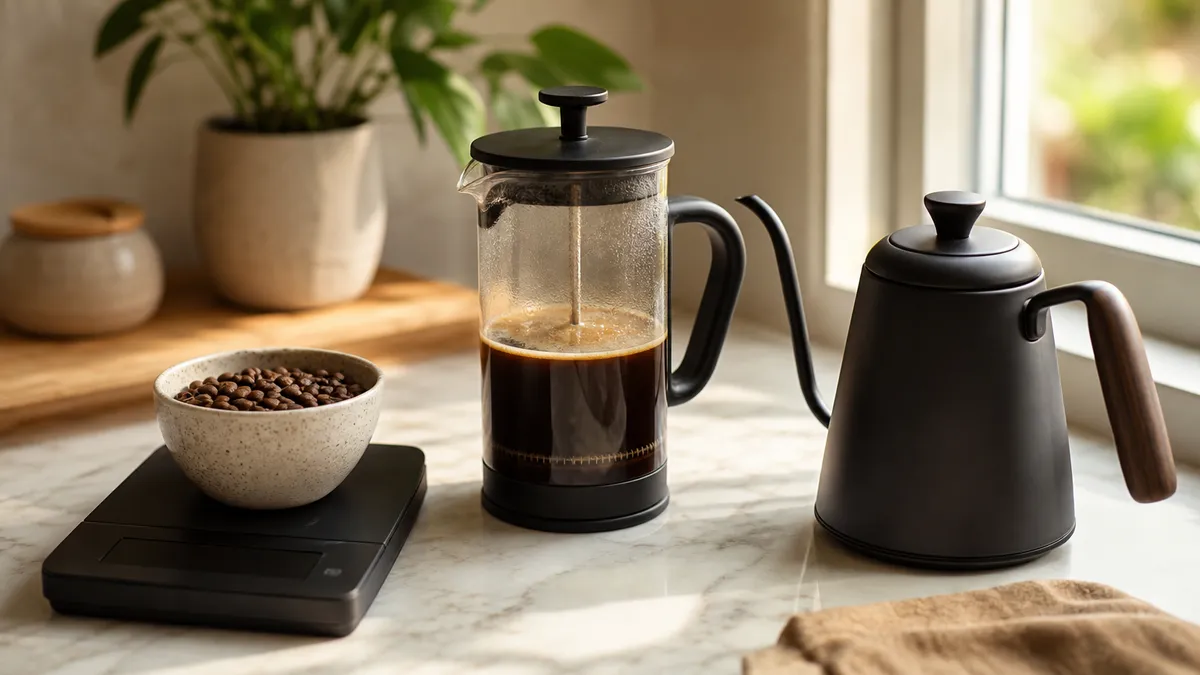
You need: a cafetière with room for the water and grounds, a kettle, scales, a timer, a wooden or plastic spoon, and a mug or serving jug.
Coffee: 30 g, coarsely ground
Water: 500 g, approximately 500 ml measured before heating, plus water for warming the brewer
Starting water temperature: 94°C
Steeping time: four minutes from first contact with water
- Check and warm the brewer. Make sure the cafetière is clean and undamaged. Warm it with hot water, then empty it carefully.
- Weigh and grind. Prepare 30 g of coarse ground coffee and add it to the cafetière.
- Add the water. Put the cafetière on a suitable scale, zero the display and start the timer as you begin pouring. Add 500 g of water at about 94°C, wetting all the grounds.
- Stir gently. Use a wooden or plastic spoon to bring any dry patches into contact with water. Fit the lid with the plunger raised.
- Leave until four minutes. Keep the brewer on a stable surface rather than repeatedly stirring or moving it.
- Press slowly. Apply gentle, steady pressure. If the plunger resists strongly, stop rather than forcing it; review the grind and the manufacturer’s instructions before brewing again.
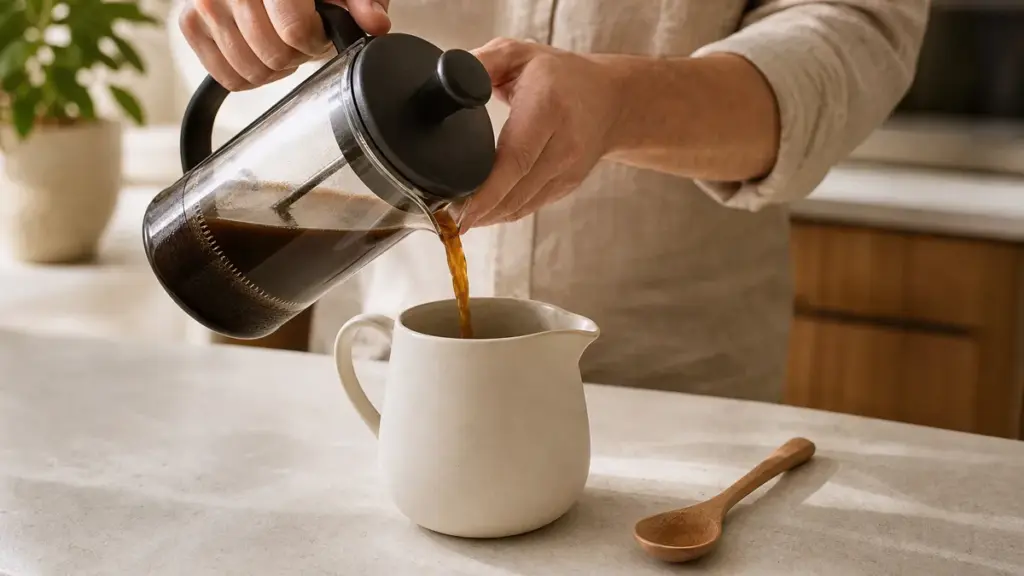
- Pour and assess. Decant the coffee into mugs or a jug rather than leaving the remaining drink sitting with the grounds. Let a sample cool enough to taste comfortably, then decide what, if anything, needs changing.
Keep this recipe unchanged for your first comparison. Consistency gives you something useful to improve.
Troubleshoot by taste, not guesswork
Extraction means dissolving material from the grounds into the water. Grind size, temperature, contact time and mixing all influence it, but taste alone cannot identify the cause with certainty.
Use this table as a set of likely explanations, not a diagnosis. Start by checking your measurements and cleanliness, then make one adjustment.
| Symptom | Likely cause | First adjustment |
|---|---|---|
| Thin and watery, but otherwise pleasant | Too little coffee for the water | Check the weighed ratio before changing the grind |
| Sharp, sour and lacking sweetness | Insufficient extraction, or an acidic coffee you do not enjoy | Try a slightly finer grind with the same recipe |
| Harsh, bitter or mouth-drying | Extraction conditions, roast character or dirty equipment | Clean the kit; if it persists, try a slightly coarser grind |
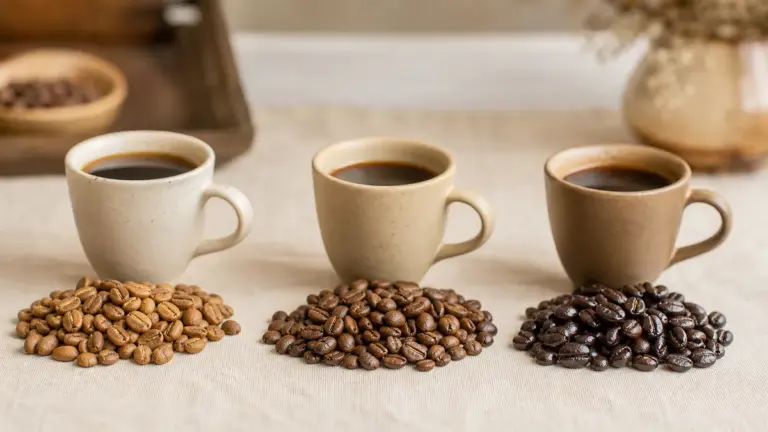
| Flat, papery or lacking aroma | Ageing coffee or poor storage | Compare with a newly opened, well-stored coffee |
| Gritty cafetière coffee | Fine particles passing the mesh | Try a coarser grind and plunge gently |
Fruit-like acidity is not automatically a brewing fault, and bitterness is not proof that the water was too hot. Roast character matters too. If a consistently brewed coffee still tastes too smoky, sharp or heavy for you, understanding roast levels may help more than another grind adjustment.
Keep the kit clean
Start with a clean brewer, filter and serving vessel. Empty the grounds after use, wash removable parts as the manufacturer directs, rinse thoroughly and let them dry.
For a cafetière, pay attention to the mesh and the spaces between its filter components. A quick rinse is less useful if grounds remain trapped inside the assembly.
Cleaning and descaling do different jobs: cleaning removes coffee residues, while descaling addresses mineral deposits. Follow the equipment maker’s instructions for both, including which parts may go in a dishwasher and which cleaning products are suitable.
Make better adjustments once the basics are steady
Separate strength, meaning the concentration of the drink, from extraction, meaning how much material you have dissolved from the grounds. A coffee can be concentrated yet poorly extracted, or relatively dilute but well extracted.
As a practical sequence, first improve an unpleasantly sharp or harsh flavour using grind and brewing conditions. Then adjust the coffee-to-water ratio if the drink is balanced but too concentrated or too dilute for your taste.
Temperature also deserves perspective. A controlled sensory study by Batali and colleagues compared drip coffee brewed at 87°C, 90°C and 93°C, adjusting grind and time to match strength and extraction. Within those tested conditions, temperature had little appreciable independent effect on the sensory profile.
That does not establish that all temperatures or brewing methods are equivalent. It does explain why chasing a precise kettle setting is less useful than controlling the whole recipe.
Write down the coffee, dose, water weight, grind setting, temperature and time, followed by a few plain tasting words. “Sweeter, less sharp” is more useful than “better”. Good coffee at home becomes easier when your next adjustment has a clear reason.
FAQ
Can I make good coffee with pre-ground coffee?
Yes, pre-ground coffee is a workable starting point. Choose a grind intended for your brewing method, keep the bag tightly sealed and buy quantities you can use promptly. You lose some control over extraction because you cannot adjust the grind, but weighing, water choice and clean equipment still give you useful control.
Can I double the recipe for more people?
Yes, provided the brewer has sufficient working capacity. Double both coffee and water to preserve the ratio, while leaving space for the grounds and lid assembly. Keep the same starting steeping time for this cafetière method, then assess the result. Do not assume that doubling a pour-over recipe will preserve its flow and timing.
Do I have to drink coffee black to judge it?
No, judge the finished drink as you normally enjoy it. For troubleshooting, it can help to taste a small sample before adding milk or sugar, then add your usual amount. Keep those additions consistent between comparisons so that you are assessing the brewing change rather than a different finished drink.
Where to go next
Return to Coffee for Beginners for the wider learning path, then read How to Choose Your First Coffee Beans to find a coffee you want to repeat. Choosing Your First Coffee Maker helps match brewing to your routine, while Understanding Roast Levels explains when a different roast may suit you better than further recipe adjustments.
Sources
-
Specialty Coffee Association, SCA Standard 102-2024: Coffee Value Assessment, Sample Preparation and Tasting Mechanics, 2024, particularly sections 5.2 and 5.3.
https://sca.coffee/s/AW_SCA-102_Sample-Preparation_281024_Secured.pdf
Supports the assessment brewing ratios and method-specific grinding. -
Specialty Coffee Association, Certified Home Brewer Program: Minimum Certification Requirements, published 2017 document.
https://sca.coffee/research/coffee-standards
Supports the stated coffee-bed temperature requirements. -
Specialty Coffee Association, Coffee Decoded: What is “freshly roasted” coffee?, undated webpage, checked 2026.
https://sca.coffee/sca-news/coffee-decoded-9-fresh-coffee
Explains degassing, aroma loss and the faster changes after grinding. -
Baratza, How to Store Coffee Beans for Freshness, undated webpage, checked 2026.
https://www.baratza.com/en-us/blog/coffee-education/how-to-store-coffee-beans-for-freshness
Supports sealed, cool, dark storage and freshness troubleshooting. -
Starbucks Coffee at Home, Ways to Grind Coffee Beans, undated webpage, checked 2026.
https://athome.starbucks.com/grinding-your-coffee-beans
Explains burr and blade grinding and their differences in grind control. -
Bodum, Coffee Brewing Methods, catalogue 2017, page 17; and Chambord French Press Coffee Maker, undated manufacturer instructions, checked 2026.
https://prod-bodum-media.s3.eu-west-1.amazonaws.com/media_production/downloadable/catalog_2017.pdf
https://www.bodum.com/us/en/1928-57-chambord
Supports coarse grinding, hot water, stirring, a four-minute brew and slow plunging. -
Specialty Coffee Association of America, Guidelines for Brewing with a Two Cup Pour-Over Brewer, version 02APRIL2016.
https://scagermany.coffee/wp-content/uploads/2021/02/best-practices-two-cup-pour-over-brewer.pdf
Supports clean equipment, preheating, weighing and thorough wetting. -
Specialty Coffee Association, Water and Coffee Acidity: How to Adapt Your Water for Different Extraction Methods, 25 Magazine, issue 9, undated webpage.
https://sca.coffee/sca-news/25/issue-9/english/water-and-coffee-acidity-how-to-adapt-your-water-for-different-extraction-methods-25-magazine-issue-9-pxjby
Explains alkalinity and its effect on coffee acidity. -
Thames Water, Water quality, undated webpage, checked 2026.
https://www.thameswater.co.uk/help/water-and-waste-help/water-quality
Provides local water-quality lookup and explains hardness minerals. -
AeroPress, Getting Started with the AeroPress Coffee Maker, undated manufacturer instructions, checked 2026.
https://aeropress.com/pages/how-to-use
Explicitly permits boiling water in its specified recipes. -
Illy, Roasting, undated official webpage, checked 2026.
https://www.illy.gr/en/live-happily/taste/roasting/
Describes the manufacturer’s roasting temperatures and roast-related flavour differences. -
Batali, M. E., Ristenpart, W. D. and Guinard, J.-X., Brew temperature, at fixed brew strength and extraction, has little impact on the sensory profile of drip brew coffee, Scientific Reports 10, 16450, 2020.
https://pubmed.ncbi.nlm.nih.gov/33020560/
Reports the controlled drip-brewing sensory experiment discussed above.
This article was researched using retrieved SCA documents, a peer-reviewed brewing study, manufacturer instructions and water-supplier guidance; the starting recipe and troubleshooting sequence are editorial guidance, not first-hand testing.
Last checked: November 2026