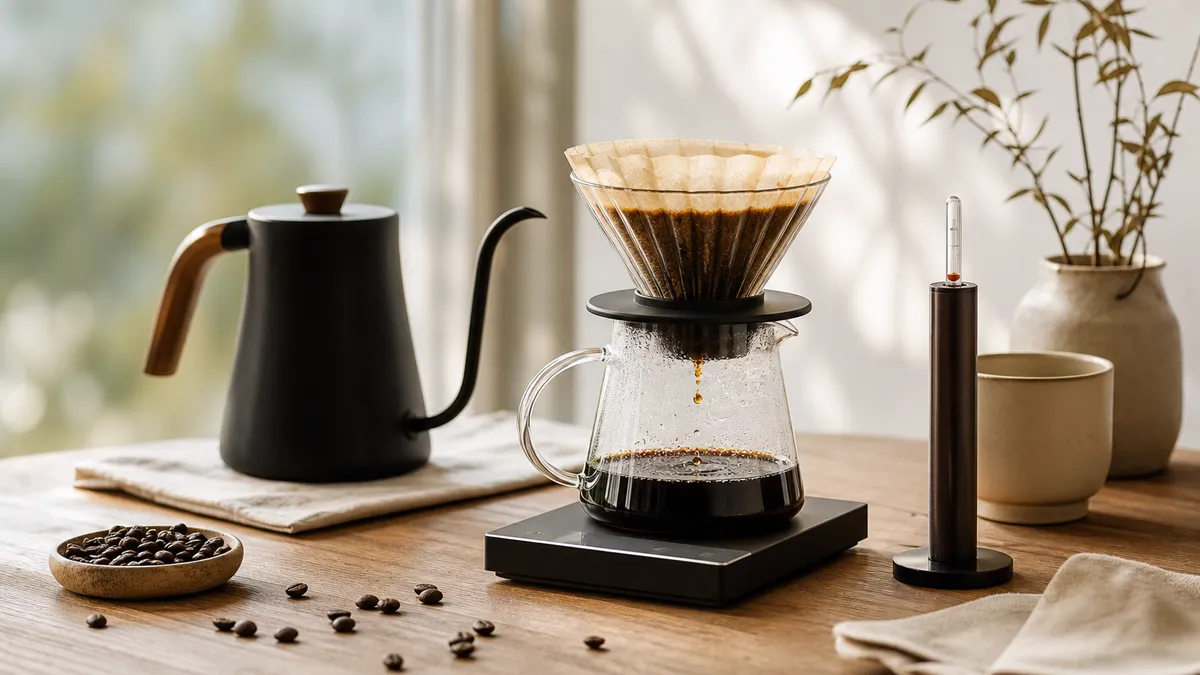
For pour-over and cafetière coffee, start with 60 g of coffee per litre of brewing water, approximately a 1:16.7 ratio, and try water at 94°C. Espresso uses a different measurement: start around 1:2 by weight of dry coffee to finished espresso, then adjust the recipe to suit the beans and your taste. These are starting points, not rules that every coffee must follow.
In short
- Weigh both coffee and water: a filter ratio of 1:16 means 1 g of coffee for every 16 g of brewing water.
- Include the bloom water in your total, but exclude water used only to rinse the filter.
- The classic Golden Cup recommendation is 55 g per litre, plus or minus 10%, approximately 1:18 at its centre.
- Distinguish kettle temperature from the temperature where water meets the grounds.
- Change one variable at a time and record the result. Otherwise, a better cup tells you little about what improved it.
Brewing ratios: know which weight you are measuring
A brewing ratio describes how much dry coffee you use relative to water or finished drink. The distinction matters because filter coffee and espresso normally use different conventions.
For pour-over, cafetière and most immersion recipes, the ratio means dry coffee to input water, both by weight. A 1:16 recipe using 20 g of coffee therefore needs 320 g of water. Input water is everything that enters the brew, including the first small pour used to wet the grounds.
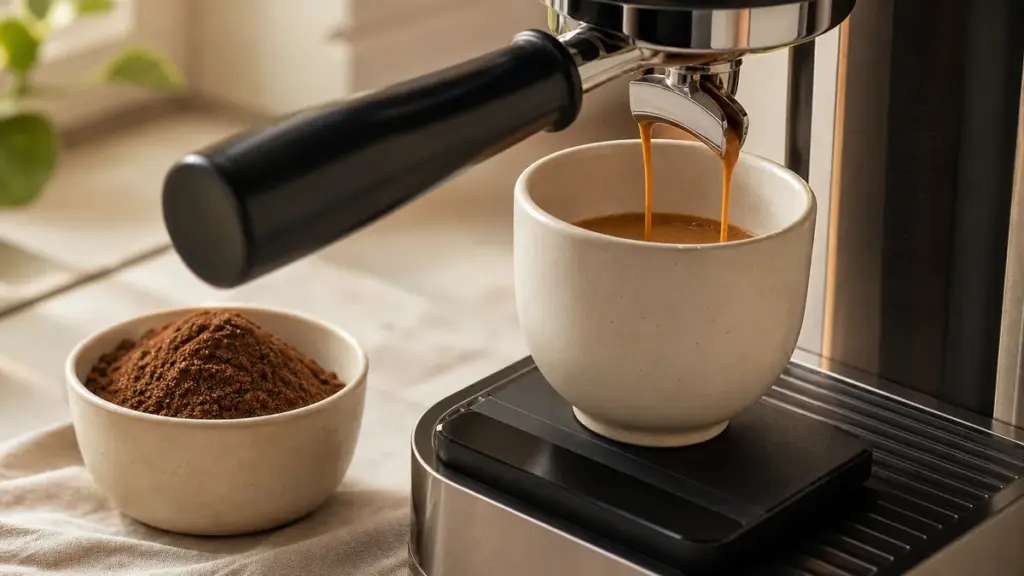
Espresso ratios normally mean dry coffee dose to beverage yield. An 18 g dose producing 36 g of espresso is 1:2. You weigh what lands in the cup, not the water drawn from the machine’s reservoir. Square Mile’s published espresso guide follows this convention, recommending 19 g of coffee for 38 g of espresso.
Do not expect 320 g of filter brewing water to produce 320 g of drink. Some liquid remains with the grounds, while evaporation and equipment retention can also affect the result. Record input water and finished beverage separately if you want to investigate your brewer’s losses.
For the wider relationship between recipes, grind and extraction, begin with grind size and extraction.
The calculation you actually need
For a coffee-to-water ratio of 1:n:
Water required in grams = coffee dose in grams × n
Coffee required in grams = water weight in grams ÷ n
For example, 300 g of water at 1:16 needs 18.75 g of coffee. Alternatively, a practical dose of 60 g per litre gives 30 g for 500 ml of water. Grams per litre is convenient for filling a reservoir; weighing the water is clearer when comparing recipes precisely.
Starting ratios for the main brewing methods
The table separates published recipe examples from broader starting advice. None guarantees a particular flavour: coffee, grind, contact time and brewing technique still matter.
| Method | Ratio convention | Useful starting point | What to watch |
|---|---|---|---|
| Pour-over | Coffee to input water | 15 g to 250 g, approximately 1:16.7 | Origin’s example uses 94°C water |
| Automatic filter | Coffee to input water | Begin around 55 to 60 g per litre | Stay within the brewer’s basket and water capacities |
| Cafetière | Coffee to input water | 60 g per litre, approximately 1:16.7 | Weigh the water rather than counting nominal “cups” |
| AeroPress, undiluted recipe | Coffee to input water | PT’s example uses 18 g to 250 g, approximately 1:14 | Concentrate recipes need separate dilution instructions |
| Espresso | Dose to beverage yield | 1:2, such as 18 g in and 36 g out | Weigh the espresso, not its crema-covered volume |
| Moka pot | Coffee to input water, if recorded | Follow the pot’s prescribed fill levels, then weigh both quantities | Water stays below the safety valve; do not tamp |
| Cold-brew concentrate | Coffee to input water | Origin’s example uses 200 g per litre, approximately 1:5 | This is concentrate, not a ready-to-drink filter recipe |
These examples come from SCA brewing guidance, roaster recipes and Bialetti’s operating instructions. In particular, moka pots should not be overfilled or packed differently simply to achieve an internet ratio.
For filter and immersion brewing, 1:15 to 1:17 is a useful experimental band, rather than a verified UK-wide preference. At a fixed water weight, moving towards 1:15 uses more coffee; moving towards 1:17 uses less. The 60 g-per-litre recipes above sit between them, at approximately 1:16.7.
Dilution needs its own record. If you brew a concentrate and add water afterwards, write down the brewing water and added water separately. Water added after removing the grounds changes strength without continuing extraction.
What the SCA Golden Cup guidance actually says
The classic SCAA Golden Cup Standard, revised 23 December 2015, recommends 55 g of coffee per litre of water, plus or minus 10%. Its central dose is approximately 1:18.2; the permitted dosing band is 49.5 to 60.5 g per litre. Therefore, 60 g per litre falls within that recommendation.
The standard also specifies:
- Brew strength: 1.15% to 1.35% total dissolved solids, or TDS.
- Extraction yield: 18% to 22% of the dry coffee’s mass dissolved during brewing.
- Water temperature at contact: 93°C, plus or minus 3°C, meaning 90°C to 96°C.
Strength and extraction are different. Strength describes the concentration of dissolved coffee in the drink; extraction describes how much material has left the grounds. Neither is another name for roast darkness.
Golden Cup guidance is a reference for brewed coffee, not a universal recipe for espresso, moka or cold-brew concentrate. Nor should every SCA document be treated as interchangeable. For example, the separate 2017 home-brewer certification requirements specified reaching 92°C within the first minute and staying between 92°C and 96°C afterwards. That is an equipment test requirement from a particular edition, not an instruction to set every kettle to the same number.
Brewing temperature: what changes, and where to measure it
Hotter water generally speeds extraction, helping soluble material move from the ground coffee into the surrounding water. However, temperature works alongside particle size, time, flow and agitation. A temperature adjustment cannot reliably compensate for every problem elsewhere in the recipe.
There are also several different temperatures in a brew:
- Kettle temperature: the water before pouring.
- Contact or slurry temperature: the water and grounds together.
- Beverage temperature: the coffee collected below the filter.
- Drinking temperature: the coffee when you taste it.
Heat passes into the grounds, brewer and surroundings during preparation. A kettle setting is therefore not a direct measurement of the coffee slurry. Preheating and a consistent pouring routine help make comparisons more meaningful. SCA testing places its temperature sensor within the brewing bed rather than relying on a kettle display.
For an ordinary hot filter brew, 94°C is a reasonable first setting, supported by Origin’s published V60 recipe. Avoid treating a small difference on the display as more important than repeatable weighing and technique.
Adjusting for roast level
As practical trial ranges for kettle water, rather than SCA standards, try:
- Light roast: 94°C to 99°C.
- Medium roast: begin around 94°C, then adjust by taste.
- Dark roast: explore 85°C to 90°C if the usual recipe tastes harsh or excessively roasty.
These ranges are an editorial synthesis, not experimentally established boundaries. Manufacturer recipes support the general direction: Fellow’s published light-roast filter profile uses approximately 99°C, while its dark-roast profile uses approximately 85°C after a hotter bloom. AeroPress recommends substantially cooler starting temperatures, 80°C for dark roasts and 85°C for medium and light roasts, showing why method-specific recipes matter.
The rationale is not simply that light coffee “needs boiling water”. Roasting changes both the material available for extraction and the bean’s structure. Laboratory research has found increasing porosity with darker roasting, providing additional pathways for extraction, although total extraction does not increase indefinitely with roast darkness. Hotter water can help a light roast extract sufficiently within a short recipe; cooler water can help restrain the extraction of an already assertive dark roast.
Do not automatically transfer the light-roast kettle range to an espresso machine. Follow a recipe appropriate to the machine and coffee, keeping dose and beverage yield controlled.
A controlled way to adjust your recipe
Use this short comparison method rather than changing several settings together.
- Make a baseline. For a V60-style pour-over, use 15 g of coffee and 250 g of water at 94°C, approximately a 1:16.7 ratio.
- Keep preparation repeatable. Rinse and preheat consistently, discard the rinse water, and use the same grind and pouring sequence. Origin’s example recipe aims for a total brewing time of 3 minutes to 3 minutes 30 seconds.
- Assess strength first. If the flavour is pleasant but too intense, try adding a measured amount of water to a sample of the finished brew.
- Test temperature separately. Keep the ratio fixed and compare 94°C with 96°C or 92°C. These are suggested comparison settings, not universal targets.
- Record dose, water, temperature, time and taste. Repeat the preferred setting before deciding it is better.
A dilution test is especially useful because it separates excessive concentration from an extraction problem. Adding water cannot reverse extraction, but it can reveal whether an otherwise enjoyable brew was simply too strong.
| Symptom | Possible cause | First useful test |
|---|---|---|
| Pleasant flavour, but too intense | Excessive strength for your preference | Dilute a small sample |
| Thin, sharply sour and lacking sweetness | Insufficient extraction is one possibility | Keep ratio fixed and try hotter water |
| Harsh, strongly roasty dark coffee | Recipe may extract more roast character than you enjoy | Compare a cooler brew |
| Both sour and drying | Uneven extraction may be involved | Check preparation and grind consistency |
| Different results from the same written recipe | Uncontrolled weighing, heat or pouring | Standardise the routine before changing the recipe |
Treat these as diagnostic leads, not proof. Taste symptoms overlap, and bitterness alone does not establish over-extraction. For a fuller diagnosis, read why coffee tastes bitter or sour and grind consistency and taste.
Why strength and extraction deserve more attention than a perfect temperature
A controlled sensory study by Batali and colleagues compared drip coffee brewed at 87°C, 90°C and 93°C. The researchers adjusted brewing conditions to hold strength and extraction at matched targets. Under those conditions, temperature had little effect on the sensory profile compared with strength and extraction.
This does not mean temperature never matters. It means different temperatures can produce similar coffee when other variables compensate. The experiment used one coffee and a particular drip-brewing setup, so it cannot establish a universal optimum for every roast and method.
For practical brewing, choose a repeatable ratio, use an appropriate temperature, then change one thing for a stated reason. Keep the water source consistent too, rather than changing water and temperature together; water hardness, alkalinity and TDS explains that separate set of variables.
FAQ
Does a smaller ratio number mean stronger coffee?
Usually, yes, when comparing otherwise similar recipes. A 1:15 filter recipe uses more coffee per gram of water than 1:18, so it generally produces a more concentrated drink. It does not automatically extract a greater percentage of the grounds, however. Strength and extraction remain separate measurements.
Can I scale a recipe up by doubling everything?
You can double the coffee and water to preserve the ratio, but that does not guarantee an identical brew. A larger batch can change bed depth and water contact time, particularly in a pour-over. Treat the scaled recipe as a starting point, stay within the brewer’s capacity and reassess the result.
Should milk count towards the brewing ratio?
No, not when milk is added after brewing. Record the coffee-to-water ratio or espresso dose-to-yield ratio first, then record milk separately as part of the finished drink recipe. This keeps two different questions clear: how the coffee was extracted, and how much it was diluted afterwards.
Where to go next
Read Grind Size and Extraction to place brewing ratios and temperature alongside the other controls, then Over-Extraction vs Under-Extraction to interpret extraction problems. Grind Consistency and Taste explains uneven results, while Water for Coffee: Hardness, Alkalinity and TDS covers the water itself.
Sources
-
Specialty Coffee Association of America, SCAA Standard: Golden Cup, revision 23 December 2015. Publisher-authored document retrieved from a third-party archive.
https://kimcoffee.net/PDF/resources/golden-cup-standard.pdf -
Specialty Coffee Association, Certified Home Brewer Program: Minimum Certification Requirements, 2017 edition. Used as a dated comparison, not presented as the latest certification specification.
https://sca.coffee/research/coffee-standards -
Origin Coffee Roasters, V60 Brew Guide, undated, retrieved November 2026.
https://www.origincoffee.co.uk/blogs/brew-guides/brewing-at-home-v60 -
Pact Coffee, Cafetiere Brew Guide, 2 April 2014, within its brew-guide archive. Used for the published 60 g-per-litre dose.
https://pactcoffee.wordpress.com/category/bean-to-cup/brewing/brew-guides/ -
PT’s Coffee, PT’s AeroPress Brew Guide, undated, retrieved November 2026.
https://ptscoffee.com/pages/pts-aeropress-brew-guide -
Square Mile Coffee Roasters, Espresso Brew Guide, undated PDF hosted in its May 2016 archive.
-
Bialetti, How to use the Moka Express?, updated 15 June 2023.
https://bialetti-cookware.zendesk.com/hc/en-us/articles/5416235346322-How-to-use-the-Moka-Express -
Origin Coffee Roasters, Cold Brew Coffee: Recipes + Serving Suggestions, 21 July 2021. Used for concentrate dosing only, not storage or food-safety advice.
https://www.origincoffee.co.uk/blogs/journal/how-to-make-cold-brew-coffee -
Fellow, What are the pre-installed brew profiles Aiden offers?, updated 7 October 2026.
https://help.fellowproducts.com/hc/en-us/articles/29539043135515-What-are-the-pre-installed-brew-profiles-Aiden-offers -
AeroPress, What’s the optimal brewing temperature for AeroPress coffee makers?, undated, retrieved November 2026.
https://aeropress.com/pages/whats-the-optimal-brewing-temperature-for-aeropress-coffee-makers -
Batali, M. E., Ristenpart, W. D. and Guinard, J.-X., Brew temperature, at fixed brew strength and extraction, has little impact on the sensory profile of drip brew coffee, Scientific Reports, 2020, volume 10, article 16450.
https://www.nature.com/articles/s41598-020-73341-4.pdf -
Scientific Reports, Caffeine content in filter coffee brews as a function of degree of roast and extraction yield, 2024. Used only for roast structure and extraction findings.
https://pmc.ncbi.nlm.nih.gov/articles/PMC11586412/
This article was researched using retrieved brewing standards, primary experimental research, manufacturer instructions and roasters’ published recipes; calculated examples and editorial trial settings are identified separately.
Last checked: November 2026