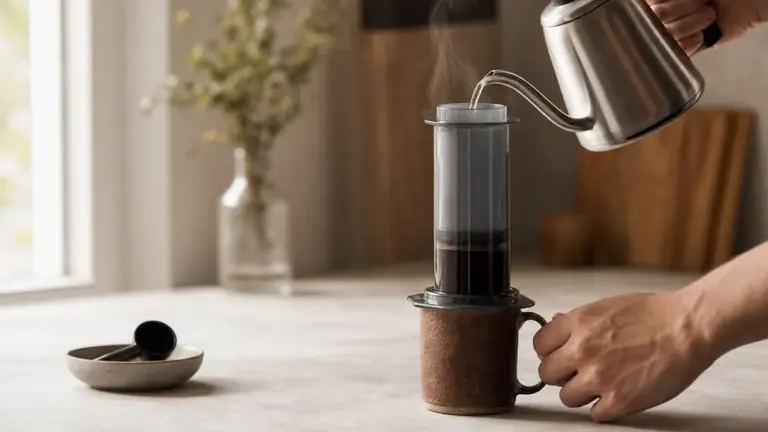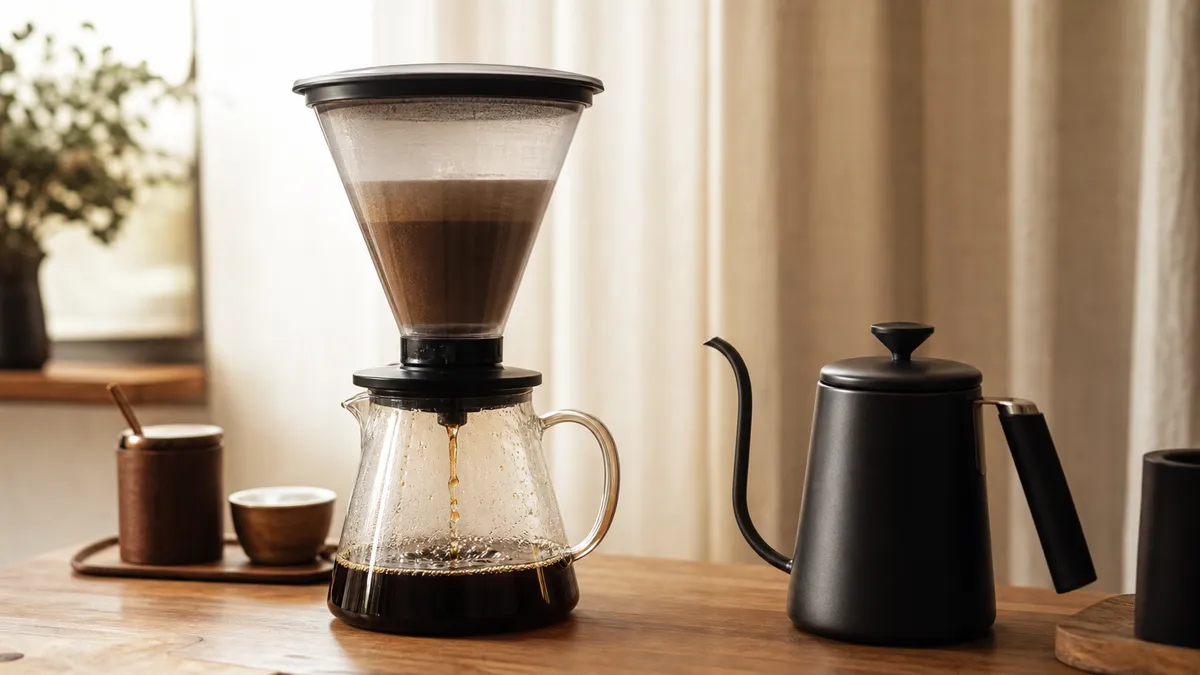
The Clever Dripper and Hario Switch brew coffee by steeping the grounds in hot water, then releasing the drink through a paper filter. The main difference is the valve: the Clever drains when placed on a suitable mug or server, while the Switch has a finger-operated lever that lets you start and stop drainage without moving the brewer.
In short
- Start with a medium grind, then adjust according to flavour and drainage rather than copying another grinder’s setting.
- The large Clever uses trapezoid-shaped #4 papers; the glass Switch uses pointed V60 papers matched to its 02 or 03 size.
- Keep the Clever off your mug while steeping. With the Switch, check that the lever is in the closed position.
- Steeping time and total brewing time are different: coffee continues passing through the grounds after you open the valve.
- Choose the Clever for straightforward steep-and-release brewing, or the Switch if you also want to alternate immersion and pour-over within one brew.
How the valves work
Both brewers combine immersion, where grounds sit in water, with gravity filtration. Opening the outlet lets the brewed liquid drain through the coffee bed and paper.
The Clever Dripper has a bottom-release mechanism with silicone sealing components. Sitting it on a suitable vessel pushes its external release ring upwards and opens the outlet. Lifting it off closes the valve again. During steeping, keep it on its coaster or another stable, flat surface that does not activate the ring.
The Hario Switch uses a stainless-steel ball to close the outlet, operated by a manual lever in its silicone base. On the standard glass model, the raised lever closes the valve; pressing it down opens it. The brewer can remain on the server throughout.
This means the Switch can hold water, drain continuously, or alternate between those states. For the wider distinction between immersion and water flowing through a coffee bed, see brewing methods.
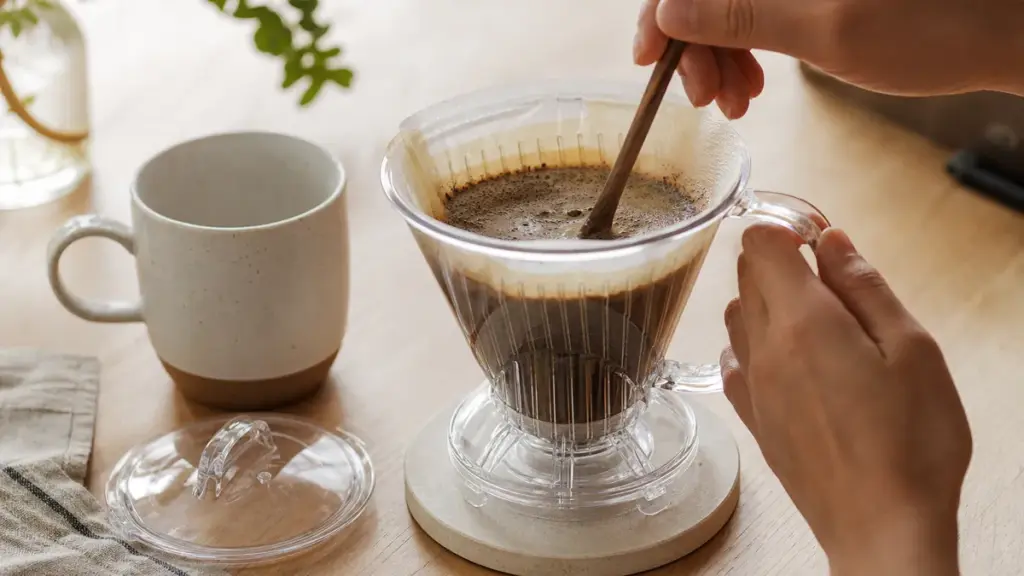
Clever Dripper and Hario Switch: the practical differences
The comparison below concerns the large plastic Clever and the standard glass V60 Switch, not every material or size variant. Manufacturer material descriptions were checked in November 2026.
| Criterion | Large Clever Dripper | Glass Hario Switch |
|---|---|---|
| Cone material | Described by Clever Coffee Brewers as BPA-free Tritan copolyester | Heatproof glass, with a silicone base |
| Paper shape | Trapezoid #4, often called Melitta-style, with a straight bottom seam | Pointed V60 cone paper, matched to 02 or 03 size |
| Valve operation | Opens when a suitable vessel presses the base mechanism | Finger-operated lever controls a stainless-steel ball |
| Changing brewing mode | Requires placing on or lifting off a vessel | Open or close the valve while it stays on the server |
| Best fit | A repeatable steep-and-release routine | Immersion brewing plus experiments with pour-over and hybrid methods |
Neither design guarantees a particular flavour. Coffee, water, grind and recipe still matter. The Clever’s automatic release is convenient, but depends on a compatible vessel; the Switch offers more direct control, but its glass needs careful handling.
Do not substitute basket-shaped flat-bottom filters for the Clever’s trapezoid papers. Equally, a folded #4 paper is not a direct replacement for the Switch’s pointed V60 filter.
Before you brew: grind, water and preparation
Use a scale, timer, kettle, correct paper, spoon and a stable mug or server. A gooseneck kettle is optional for a closed-valve immersion recipe, although its controlled stream is useful during the Switch’s pour-over stages.
Start with a medium grind. Grinder labels are not standardised, so treat this as a starting point rather than an exact particle size. Avoid beginning with espresso-fine grounds: you need the bed to drain as well as extract.
Rinse the fitted paper with hot water, then discard the rinse water. This also warms the brewer. Check operation with water before adding coffee, particularly if you have changed mugs or reassembled the valve.
Weigh the brewing water. The recipes below express ratios as coffee to water by weight, not coffee to finished drink. The volume in your mug will be smaller than the water added because the wet grounds retain liquid.
How to use a Clever Dripper
This is an editorial starting recipe adapted from Clever Coffee Brewers’ water-first method, with a simplified stirring routine and a longer steep. It is not presented as a manufacturer’s exact recipe or as a first-hand tested result.
Recipe: 18 g coffee, 300 g water, a coffee-to-water ratio of approximately 1:16.7. Start with medium-ground coffee and water at 96°C. Use the large Clever and a receiving vessel of at least 350 ml.
- Fit and rinse the paper. Fold the #4 paper’s seams so it sits neatly inside the cone. Rinse with hot water, placing the brewer on your server to drain. Discard that water.
- Close the outlet. Move the Clever onto its coaster on the scale. Check that nothing underneath is pushing the release ring upwards.
- Add the water first. Tare the scale and pour in 300 g of water at 96°C.
- Add the coffee and start the timer. Add 18 g of grounds. Stir gently just until all the coffee is wet, then fit the lid.
- Steep for two minutes. Leave the brewer off the receiving vessel. Keep your timing convention consistent: here, the clock starts when coffee meets water.
- Release. At 2:00, place the Clever squarely on the mug or server. Let it drain without further stirring. Record the finishing time rather than forcing it to meet a deadline.
- Lift and serve. Remove the brewer when the continuous flow has slowed to occasional drops. Stir the finished coffee before tasting.
Water-first brewing follows the supplier’s published approach, but is not compulsory. If you try coffee-first brewing, keep the dose, temperature and timing unchanged so you can judge that change separately.
How to use a Hario Switch
For an uncomplicated introduction, use Hario UK’s published immersion starting point: 15 g coffee and 250 g water, approximately 1:16.7, with a medium grind and water at 92 to 94°C.
Use an 02 or 03 glass Switch with matching V60 paper and a receiving vessel of at least 300 ml.
- Rinse and warm. Fit the paper and rinse with hot water while the valve is open. Empty the receiving vessel.
- Close the valve. Raise the lever. Add 15 g of coffee, level the bed and tare the scale.
- Start with 50 g water. Start your timer and pour 50 g at 92 to 94°C. Leave it for 30 seconds with the valve closed. This initial wetting stage is commonly called the bloom.
- Complete the pour. Add water until the scale reads 250 g in total. Make sure there are no dry islands of coffee.
- Release at two minutes. At 2:00 from the first pour, gently press the lever down.
- Allow drainage. Hario’s guide suggests a total time around 3:00. Treat that as a reference, not a pass-or-fail limit. Remove the brewer and stir the drink.
Keep the brewer stable when operating the lever. Never try to correct a misplaced ball or base while the cone contains hot water.
Hario’s original 02 instruction manual gives a different recipe: 20 g coffee, approximately 240 ml hot water and about two minutes’ immersion. That is a more concentrated starting recipe, not a contradiction about how the valve works. Avoid combining its larger dose with another recipe’s water quantity by accident.
Using the Switch for a hybrid brew
A hybrid recipe deliberately combines immersion with percolation, meaning water flows through the grounds. Learn the simple immersion recipe first, then change brewing mode while keeping careful notes.
Hario Europe publishes this sequence from brewer Ole Kristian Bøen:
- Coffee: 16.5 g, medium-fine grind.
- Water: 240 g at 96°C, approximately 1:14.5.
- Expected total time: 3:00 to 3:15.
- Start with the valve closed. Pour 50 g water and wait until 0:40.
- Open the valve and immediately pour another 100 g into the centre.
- At 1:30, close the valve and add the remaining 90 g in a circular pour.
- At 2:10, reopen the valve and let the coffee drain.
The scale readings are cumulative: 50 g, 150 g, then 240 g. You are not adding 240 g at the final stage.
The purpose is controlled variation, not complexity for its own sake. Record valve changes alongside pours, otherwise “a three-minute brew” tells you little about how much time was spent steeping or draining.
Troubleshooting flavour and drainage
Taste the coffee after it has cooled enough to assess comfortably. Change one variable at a time, and distinguish an unpleasantly sour, thin cup from a coffee whose natural acidity you simply do not enjoy.
The following are diagnostic starting points, not certain explanations for every coffee.
| Symptom | Likely cause | Fix |
|---|---|---|
| Clever will not release | Mug rim does not engage the release ring | Test another stable vessel with water |
| Switch will not drain | Lever remains closed or valve needs attention | Check the lever; let everything cool before inspection |
| Drainage becomes unusually slow | Finer grind, excessive agitation or a poorly seated paper | Check paper fit, stir less, then try a slightly coarser grind |
| Thin and unpleasantly sour | Insufficient extraction or too little coffee for your preference | Keep the ratio fixed; try a finer grind or longer steep |
| Strong, harsh or drying | Recipe, extraction or roast does not suit your taste | Check dose first, then try cooler water or a coarser grind |
| Leakage during steeping | Valve contamination, poor seating or worn sealing parts | Cool, clean and reassemble; replace damaged parts |
Do not assume every slow drawdown means over-extraction. Record flavour as well as time. Conversely, a brew that finishes on schedule is not automatically well extracted.
What steeping time does, and does not, tell you
Extraction is the movement of soluble material from grounds into water. Peer-reviewed experiments and modelling show that immersion extraction changes over time, with grind, agitation and brewing conditions affecting the process. The rate generally slows as the liquid and grounds approach equilibrium.
That does not establish one ideal steeping time for every coffee. Nor does opening the valve instantly stop extraction: liquid must still pass through the bed.
Distinguish strength, the concentration of dissolved coffee in the drink, from extraction yield, the proportion of the dry coffee dissolved during brewing. Adding more coffee changes the ratio and can make a stronger cup; extending the steep changes contact time. They are different adjustments.
For useful comparisons, record coffee, dose, water mass, temperature, grind, stirring, release time and finish time. Compare the brewers using the same coffee before attributing a flavour difference to their cone materials.
Cleaning and checking the valves
After brewing, let the equipment cool, remove the paper and grounds, and clean away residue. Follow the instructions for your particular model before dismantling its base.
For the Switch, Hario specifies a soft sponge and neutral detergent. Avoid abrasive cleaners and do not scrape the glass with a metal spoon. Stop using glass that is cracked, chipped or heavily scratched.
Check sealing surfaces before reassembly. Clever replacement silicone seals are available, but a leaking valve should be inspected and cleaned before assuming it needs replacement.
FAQ
Can I use pre-ground filter coffee?
Yes, pre-ground filter coffee is a reasonable starting point. Brew it before deciding that the grind is unsuitable, then assess both flavour and drainage. Because you cannot change its grind, adjust steeping time or temperature separately. Keep the coffee and water quantities fixed while making those comparisons.
Can I make a larger batch by doubling the recipe?
Only if the brewer can safely hold the mixture and the receiving vessel can hold the finished drink. Closed-valve capacity matters more than the number of “cups” advertised for pour-over use. Do not double the Switch recipe without checking available space; brewing separate batches avoids overfilling.
Can I leave the Switch open throughout?
Yes, the glass Switch can brew with its valve open throughout, functioning as a V60-style pour-over brewer. That removes the deliberate immersion stage, so pouring and drainage become part of the brewing routine. Establish a separate open-valve recipe rather than expecting the immersion recipe to produce an identical result.
Where to go next
Use Brewing Methods to place the Clever Dripper and Hario Switch alongside other extraction methods, then read Which Brewing Method Is Best? to match a method to your routine. For a different combination of immersion and filtration, Siphon Brewing explains a brewer that moves water between two chambers.
Sources
-
Clever Coffee Brewers, CLEVER Dripper, undated product specification and brewing guide, retrieved November 2026.
https://cleverbrewing.coffee/collections/clever-manual-brewers/products/clever-dripper -
Clever Coffee Brewers, CLEVER Dripper Replacement Seal Kit, undated, retrieved November 2026.
https://cleverbrewing.coffee/products/clever-dripper-replacement-seal-kit -
Ozone Coffee, official UK Clever importer and distributor, Clever Dripper Replacement Silicone Seal Kit, undated, retrieved November 2026.
https://ozonecoffee.co.uk/products/clever-dripper-replacement-seal -
Hario, Immersion Dripper SWITCH: Instruction Manual, document code SSD-200説明書1901, undated. Manufacturer document hosted by WebstaurantStore, retrieved November 2026.
https://www.webstaurantstore.com/documents/pdf/hario_v60_switch_size_02_glass_immersion_coffee_dripper_with_white_filters_manual.pdf -
Hario USA, V60 SWITCH Glass Dripper and Server Set 02, undated product specification, retrieved November 2026.
https://www.hario-usa.com/products/switch-server-set -
Hario UK, How to Brew with the Hario V60 Switch, 18 September 2026.
https://www.hario.co.uk/blogs/news/how-to-brew-with-the-hario-v60-switch -
Hario UK, Hario V60 Switch Immersion Dripper: Size 03, undated product specification, retrieved November 2026.
https://www.hario.co.uk/collections/hario-v60-immersion-drippers/products/hario-v60-switch-immersion-dripper-size-03 -
Hario Europe, Ole Kristian Bøen’s Switch Recipe, undated, retrieved November 2026.
https://www.hario-europe.com/blogs/hario-community/ole-kristian-boens-switch-recipe -
Moroney et al., Journal of Mathematics in Industry, Coffee extraction kinetics in a well mixed system, 2016.
https://pmc.ncbi.nlm.nih.gov/articles/PMC4986356/ -
Liang et al., Scientific Reports, An equilibrium desorption model for the strength and extraction yield of full immersion brewed coffee, 2021.
https://pmc.ncbi.nlm.nih.gov/articles/PMC7994670/
This article was researched using manufacturer instructions, published brewing recipes, distributor documentation and peer-reviewed extraction research; the adapted Clever recipe and troubleshooting adjustments are editorial starting guidance, not first-hand test findings.
Last checked: November 2026