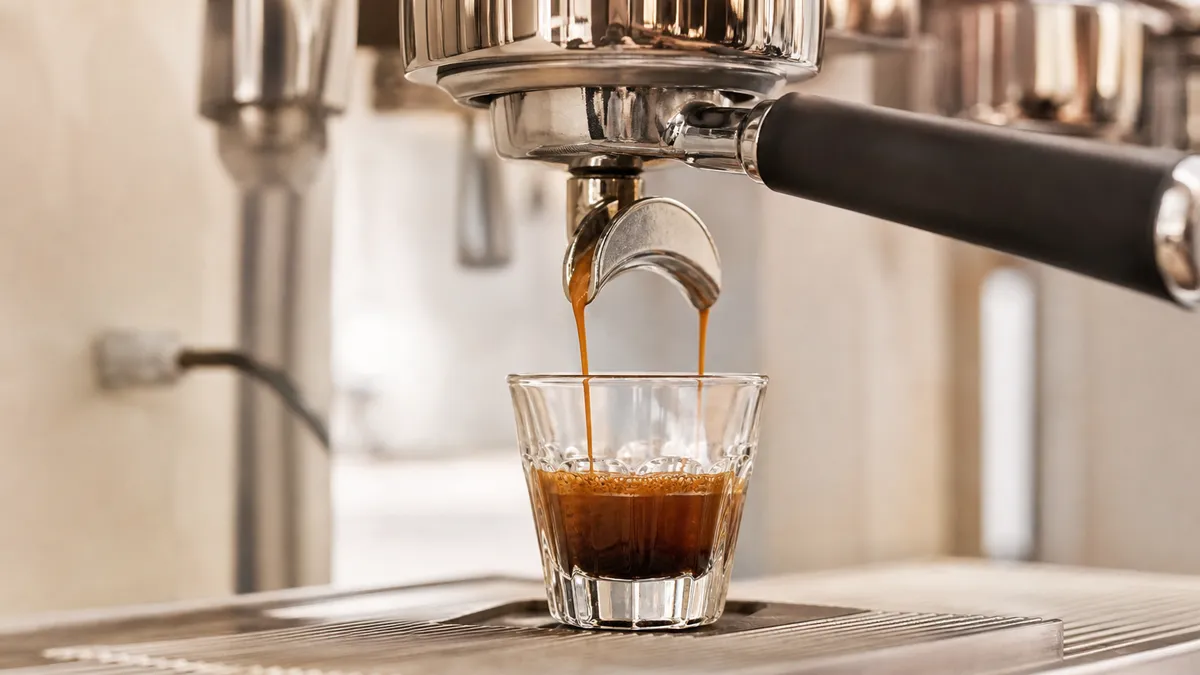
Espresso is concentrated coffee made by forcing hot water under pressure through a compact bed of finely ground coffee. To make it, start with 18 g of coffee and collect 36 g of espresso in about 25 to 35 seconds, then adjust by taste rather than treating the numbers as a pass-or-fail test.
In short
- Match the dose to your basket: the 18 g recipe below needs a basket designed to hold that amount.
- Weigh the finished espresso in grams, not millilitres. A 1:2 ratio means one part dry coffee to two parts finished drink by weight.
- Start at 93 °C if your machine has an adjustable brew temperature. Roughly 90 to 96 °C covers a common working range, not a compulsory setting.
- Distribute the grounds evenly and tamp level. Consistency matters more than chasing a particular tamping force.
- Keep dose and yield steady while adjusting the grind, then taste before changing anything else.
What is espresso?
Espresso is a brewing method, not a particular bean or roast. Its defining feature is pressurised brewing through finely ground, compacted coffee, producing a small, concentrated drink.
The metal handle that holds the coffee is the portafilter. Inside it sits a perforated basket; the compressed bed of grounds is the puck. The machine’s group head delivers water into that bed.
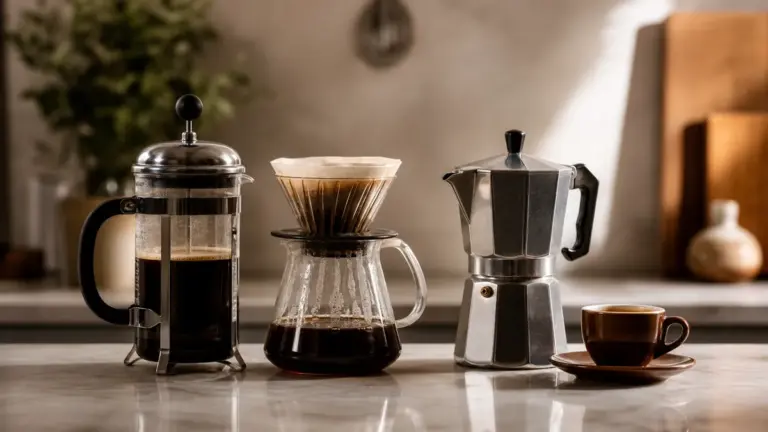
Espresso also forms the coffee base of drinks such as flat whites and cappuccinos. Here, the aim is to make a balanced shot before adding anything to it. For an overview of other ways to brew, start with brewing methods.
Espresso dose, yield and time
These three measurements make a recipe repeatable:
| Variable | What it means | Starting point |
|---|---|---|
| Dose | Dry ground coffee in the basket | 18 g, if suitable for the basket |
| Yield | Finished espresso collected in the cup | 36 g |
| Time | Elapsed brewing time | About 25 to 35 seconds |
| Brew ratio | Dose compared with finished yield by weight | 1:2 |
For this method, start the timer when you activate brewing, not when the first drops appear. If the machine includes pre-infusion, an initial wetting stage before full brewing pressure, record that consistently too.
Yield is not the amount of water placed in the reservoir or pumped towards the coffee. Some water remains in the spent grounds, so weigh what reaches the cup.
These starting points describe common practice, not a universal espresso standard. The Specialty Coffee Association’s account of its 2017 barista survey reported widespread use of weight-based recipes around 1:2. Older definitions used beverage volume and different dose conventions.
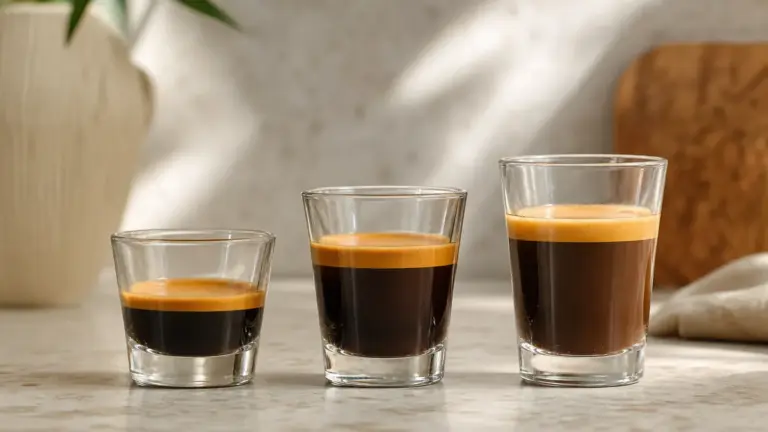
For a systematic adjustment process, use espresso dialling in. Shorter and longer drink styles belong in ristretto, espresso and lungo.
Espresso Machines
The essential equipment is an espresso machine, a suitable grinder, a basket-matched tamper, scales and a timer. Choose a grinder that can produce a fine espresso grind and make small, repeatable adjustments.
A single-wall basket, also called an unpressurised basket, lets you control extraction through grind, dose and preparation. A dual-wall or pressurised basket adds a restriction at its outlet. Manufacturers commonly supply these for use with pre-ground coffee or where grind control is limited.
The method below assumes a single-wall basket and freshly ground beans. With a pressurised basket, follow the machine’s instructions rather than expecting identical flow behaviour.
Use water that meets the machine manufacturer’s requirements. For UK tap water, begin with your local supplier’s published hardness information, then follow the machine maker’s testing and treatment advice. A brewing-water recommendation is not a substitute for equipment-specific limits intended to manage scale and corrosion.
Semi-Automatic Espresso Machines
On a semi-automatic machine, you prepare the coffee and start and stop the shot yourself. That gives direct control over the collected yield, provided you use scales rather than judging the cup by eye.
Some pump-driven machines stop automatically after a programmed water volume or beverage weight. You still need to prepare the puck and check the result: automatic stopping does not remove the need to adjust the grind.
For learning, the useful question is not how many buttons the machine has, but whether you can repeat the same preparation and measure the resulting shot.
Commercial Espresso Machines
Commercial machines can use the same basic brewing process and recipe measurements. Their controls may be semi-automatic, volumetric, meaning they stop after a programmed water volume, or gravimetric, meaning they stop at a measured beverage weight.
For a workplace demonstration, ask the operator to show the complete sequence: grinding, dosing, preparation, brewing and cleaning. Then repeat it rather than assessing only one carefully prepared drink.
A programmed button is useful for repeatability, but it does not correct an unsuitable grind or uneven preparation. Record the intended dose and yield beside the operating procedure so different users are working towards the same result.
How to make espresso
This starting method uses a double basket suitable for 18 g of coffee. Keep the same beans while learning, so you are not changing the coffee and technique together.
-
Prepare the machine and cup.
Fill the reservoir with suitable drinking water and allow the machine to warm up as its manual directs, with the portafilter fitted where instructed. Use a small cup or glass of about 90 ml capacity as a practical vessel, not a drink-volume target. -
Set the temperature if available.
Start at 93 °C. If your machine has no temperature adjustment, use its normal espresso setting. Follow its instructions for any preparatory flush rather than applying a universal flushing time. -
Weigh and grind the coffee.
Weigh 18 g into the basket, checking that this dose is appropriate for it. Grind finely, but do not automatically choose the finest setting. The correct setting is the one that gives useful flow and flavour with your coffee and equipment. -
Distribute the grounds.
Spread the coffee evenly across the basket rather than leaving a central mound or an obvious gap at one edge. Gentle settling taps can help. The aim is an even bed before compression, not a complicated routine. -
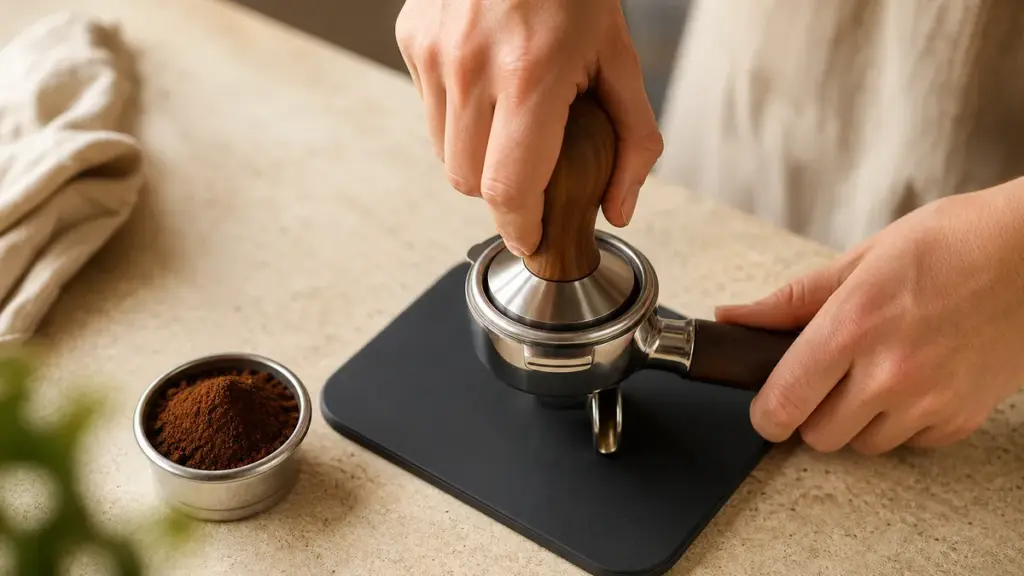
Tamp level.
Support the portafilter securely and press straight down with a correctly fitting tamper. Compress the grounds firmly and consistently. Wipe loose coffee from the basket rim so it can seal properly against the machine. -
Fit the portafilter and tare the scales.
Lock it into the group head as directed by the manufacturer. Put the cup on the scales beneath the spouts and reset the display to zero. -
Brew and measure.
Start brewing and the timer together. Aim to collect 36 g of espresso in about 25 to 35 seconds. Stop according to the collected weight rather than continuing simply to reach a particular time. -
Taste, record and clean.
Note the dose, yield, time and flavour before making an adjustment. Remove the spent puck and clean the basket and group as the manual directs. Never remove the portafilter while brewing or while the system remains pressurised.
The cup capacity above is an editorial equipment suggestion. It does not mean that 36 g of espresso should occupy 36 ml.
Grind, distribution and tamping
Grind changes both the coffee’s exposed surface area and how easily water moves through the puck. In ordinary adjustment, grinding finer tends to slow the flow; grinding coarser tends to speed it up.
However, “finer” does not always mean “better extracted”. A peer-reviewed study combining mathematical modelling with espresso experiments found that sufficiently fine settings could produce uneven flow and reduced average extraction. This is a useful warning against repeatedly grinding finer when a shot becomes unpredictable.
Channelling means water takes preferential routes through the bed instead of flowing evenly through it. Uneven preparation can contribute, so correct visible distribution and tamping problems before chasing a new recipe.
Tamping should make a level, compact bed. Do not use harder tamping as the main control for a fast shot. Keep the preparation consistent, then change the grind.
Temperature and pressure
A practical espresso temperature range is roughly 90 to 96 °C, with 93 °C a sensible starting point. This reflects established brewing guidance rather than a rule that every coffee must follow.
Keep temperature unchanged while learning to control dose, yield and grind. Otherwise, a better or worse shot leaves you unsure which adjustment mattered. Where the machine allows temperature changes, make them deliberately after establishing a repeatable recipe.
Around 9 bar is a common conventional brewing-pressure reference. It is not a quality score, and higher pressure is not automatically preferable. Experimental espresso research has also used lower pressure successfully under its particular test conditions.
For a beginner, leave pressure at the manufacturer’s intended setting. There is enough to learn from the coffee bed and the cup before adding pressure adjustments.
Tasting and troubleshooting espresso
Taste for balance between acidity, sweetness, bitterness and mouthfeel. Acidity might suggest ripe fruit rather than sharp, unfinished sourness; bitterness can provide structure without leaving a harsh, drying finish.
Treat these descriptions as observations, not automatic diagnoses. Coffee itself affects flavour, and uneven extraction can produce a shot that tastes both acidic and bitter.
Use the table to choose one test, then repeat the shot with other variables unchanged.
| Symptom | Likely cause | Fix to test |
|---|---|---|
| Target yield arrives very quickly; shot tastes thin and sour | Grind too coarse for this recipe | Grind slightly finer while keeping dose and yield steady |
| Espresso barely flows or misses the target yield by a long margin | Grind too fine or basket overfilled | Check basket suitability, then try a slightly coarser grind |
| Shot tastes sharply sour despite repeatable flow | Current recipe extracts too little for this coffee, or acidity is being misread | Try a modestly longer yield and compare |
| Shot tastes harsh or drying | Recipe, roast character or uneven extraction | Check preparation first, then test a shorter yield |
| Similar settings produce very different results | Inconsistent dose, distribution or tamping | Weigh each dose and standardise preparation |
Crema, the golden foam on espresso, is worth observing but should not become the goal. Its formation involves carbon dioxide released from the coffee, and ageing beans can produce less of it. Taste the drink rather than rejecting it solely because the foam is thin.
Why a good espresso can fall outside the recipe
Time is a diagnostic clue, not the final judge. A repeatable shot that tastes balanced does not need correcting merely because it falls outside the starting window.
The extraction study described above also illustrates why a single measurement cannot describe the whole cup. Its researchers found that different grind conditions could produce similar overall extraction measurements despite different brewing behaviour.
That evidence comes from modelling and controlled brewing experiments, not proof that one unusual recipe suits every machine. The practical lesson is narrower: measure carefully, avoid assuming that finer is always better, and use taste to decide whether the change helped.
FAQ
Can I use pre-ground coffee?
Yes, particularly if your machine provides a pressurised basket intended for it. Follow the manufacturer’s basket and dosing instructions. Pre-ground coffee removes your ability to adjust grind size, so do not expect it to behave like freshly ground coffee in a single-wall basket. Use the basket designed for your situation rather than forcing the starting recipe.
Does espresso need a particular bean or roast?
No, espresso is a preparation method rather than a bean category. Start with a coffee you enjoy and keep it unchanged while learning. A manufacturer’s suggested espresso blend can provide a straightforward starting point, but the useful test is whether your measured recipe produces the flavour and texture you want.
Why not measure espresso in millilitres?
Weight gives a more repeatable recipe than judging beverage volume, which includes a variable foam layer. Place the cup on scales and tare them before brewing, then measure the finished drink in grams. Keep millilitres for vessel capacity or other appropriate volume measurements, not as a substitute for the dose-to-yield ratio.
Where to go next
Read Espresso Dialling In: Dose, Yield and Time to turn this starting method into a repeatable adjustment routine, then Ristretto vs Espresso vs Lungo to understand shorter and longer espresso styles. For a contrasting way to explore the same coffee, Pour-Over introduces gravity brewing rather than pressurised extraction.
Sources
-
Specialty Coffee Association, Defining the Ever-Changing Espresso, 25 Magazine, issue 3, reporting the 2017 espresso survey; publication year not displayed in the retrieved page text. Historical practice and definitions, not a newly issued brewing standard.
https://sca.coffee/sca-news/25-magazine/issue-3/defining-ever-changing-espresso-25-magazine-issue-3-zyx36 -
La Marzocco Home, Using Espresso Brew Ratios, undated retrieved page. Manufacturer guidance on weight-based recipes, time, temperature and pressure.
https://home.lamarzoccousa.com/using-espresso-brew-ratios/ -
La Marzocco Home, How to Make Espresso, 2016. Manufacturer preparation method, basket matching and timing convention.
https://home.lamarzoccousa.com/how-to-make-espresso/ -
La Marzocco Home, The Essential Guide to Mastering Espresso at Home, 2025. Manufacturer starting recipes and adjustment guidance.
https://home.lamarzoccousa.com/the-essential-guide-to-mastering-espresso-at-home/ -
Sage Appliances, the Duo-Temp Pro BES810/SES810 User Guide, retrieved file identified as F23. Manufacturer guidance on baskets, preparation, cleaning and safe operation.
https://assets.sageappliances.com/BES810/SES810_EU_UG8_F23_FA_Online.pdf -
Breville, Espresso, undated retrieved recipe and preparation guide. Manufacturer guidance on grind, weighing, preparation and drink use.
https://www.breville.com/us/en/coffee-journey/recipes/espresso.html -
Cameron and colleagues, Systematically Improving Espresso: Insights from Mathematical Modeling and Experiment, Matter, volume 2, 2020, pages 631 to 648. Peer-reviewed modelling and experimental extraction research.
https://pages.uoregon.edu/chendon/publications/2020/74.%20Matter%2C%20Espresso%20extraction.pdf -
La Marzocco USA, Understanding Commercial Espresso Machine Configurations, 2021. Manufacturer descriptions of semi-automatic, volumetric and weight-controlled operation.
https://www.lamarzoccousa.com/news/blog/understanding-commercial-espresso-machine-configurations/ -
La Marzocco, Water Specifications, undated document, retrieved from the manufacturer’s published PDF. Equipment-specific water requirements, not a universal specification for all espresso machines.
https://lamarzoccousa.com/wp-content/uploads/2023/09/Water-Specifications.pdf -
Fellow, Why isn’t my espresso producing crema?, 8 October 2026. Manufacturer explanation of crema, coffee ageing and uneven preparation.
https://help.fellowproducts.com/hc/en-us/articles/53040199952795-Why-isn-t-my-espresso-producing-crema
This piece was researched using retrieved association material, manufacturer instructions and peer-reviewed extraction research; no first-hand machine testing is claimed.
Last checked: November 2026