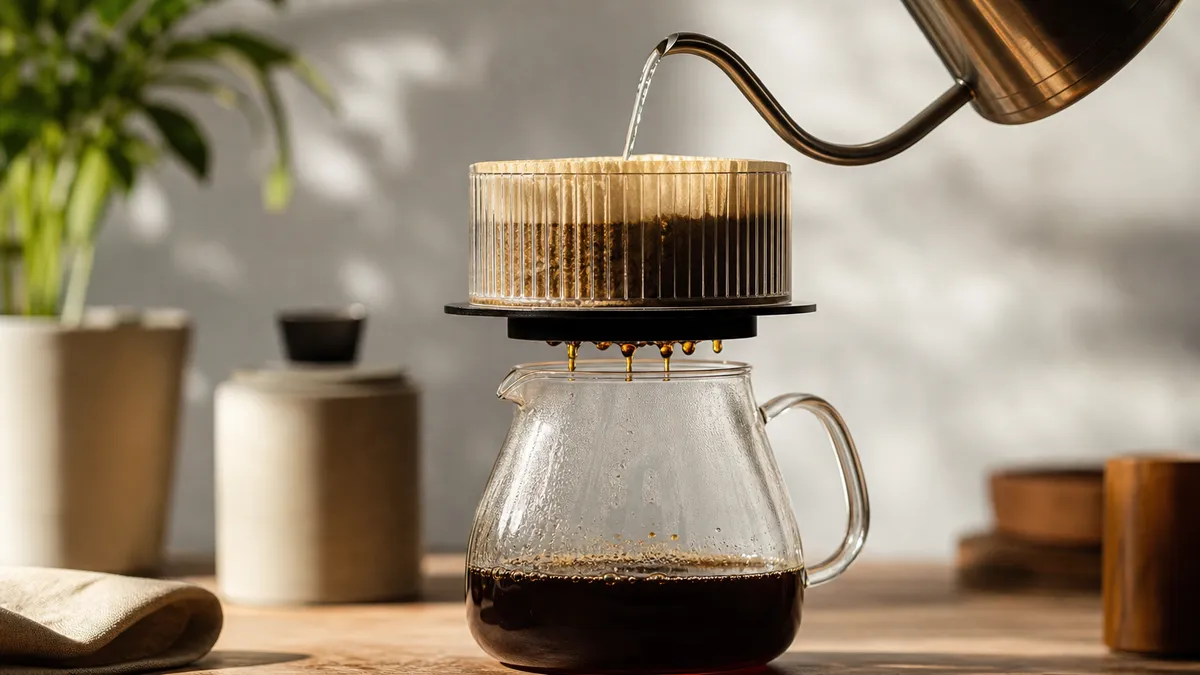
Drip brewing makes coffee by passing hot water through ground coffee and a filter, either with an automatic machine or by pouring water by hand. Start with about 60 g of coffee per litre of water, then adjust the grind and pouring to get a cup that tastes balanced rather than thin, sharply sour or harsh.
In short
- Weigh the coffee and brewing water: 30 g with 500 g of water is approximately a 1:16.7 coffee-to-water ratio.
- Start with a medium filter grind, not an espresso grind.
- For the manual recipes below, use water at 94°C as a repeatable starting setting.
- Bloom manual brews for 30 to 45 seconds, counting that water within the total.
- Keep the dose steady while adjusting the grind, and judge the result by taste rather than the timer alone.
How drip brewing works
Water dissolves substances from the coffee as it travels through the grounds, then drains into a cup or jug. This is percolation, meaning extraction by water passing through a bed of coffee, rather than grounds remaining submerged throughout brewing.
An automatic filter machine heats and delivers the water. With manual drip brewing, usually called pour-over, you control its delivery yourself. Both belong in the same family of brewing methods.
The useful distinction is between strength, how concentrated the drink is, and extraction, how much material has dissolved from the grounds. A weak cup is not necessarily under-extracted, and a strong cup is not automatically bitter.
Ratios, grind and water
Write drip ratios as dry coffee to brewing water by weight. At 1:16, use 20 g coffee with 320 g water; at approximately 1:16.7, use 30 g with 500 g water. These are starting recipes, not compulsory standards.
Water quantities here mean water added, not finished drink volume. Some remains in the wet grounds. For convenient reservoir measurements, 500 g of cold water is approximately 500 ml; weighing avoids relying on a machine’s interpretation of a “cup”.
Start with a medium grind, following your brewer’s instructions where available. Going finer generally increases resistance to flow; excessively fine coffee can block a filter and cause overflow. Descriptions such as “medium” are only starting points, so record the setting on your own grinder.
Use fresh drinking water and check your local water supplier’s hardness report before choosing treatment. Hardness and alkalinity are different: alkalinity describes acid-buffering capacity and can change how bright the coffee tastes. For context, SCA Standard 310-2021 specifies brewer test water with calcium hardness equivalent to 50 to 175 mg/L as calcium carbonate and alkalinity of 40 to 70 mg/L as calcium carbonate, not a single ideal recipe for every household.
Automatic Drip Coffee Makers
An automatic drip maker is the practical choice when you want a batch without supervising each pour. Choose by the quantities you actually brew, the manufacturer’s supported batch sizes, filter availability and ease of cleaning, rather than advertised cup count alone.
SCA certification provides independent testing of brewing performance. It does not mean every coffee, grind or batch size will taste equally good, so the machine’s instructions still matter.
A repeatable automatic drip method
This starting recipe uses 60 g coffee and 1,000 g cold water, approximately 1,000 ml, provided that quantity is within the machine’s operating range.
- Prepare the brewer. Fit the specified filter and seat the basket and carafe correctly. Fold paper seams where instructed.
- Measure the water. Add 1,000 g fresh cold water to the reservoir. Do not add hot kettle water unless the manufacturer permits it.
- Grind and load. Grind 60 g coffee to a medium filter setting and distribute it evenly in the basket.
- Select the programme. Use the setting intended for that batch size. If temperature is adjustable, begin with the manufacturer’s recommended filter programme.
- Brew without interference. Keep the basket lid closed and let the cycle finish. Record the elapsed time as a reference for later brews, rather than imposing a universal target.
- Taste and record. Note the coffee, dose, grind setting, water quantity and result. Change one variable for the next batch.
Do not improvise a manual bloom by switching an operating machine off and on. Some machines manage initial wetting through their programmed delivery; follow the particular model’s instructions.
Keeping the result consistent
Clean the jug, basket and lids as directed, and descale using an approved product and schedule. These are separate jobs: cleaning removes coffee residues, while descaling addresses mineral deposits.
If brewing becomes unexpectedly slow, investigate maintenance before changing the recipe. Technivorm identifies scale as a possible cause of restricted water flow and altered brewing temperature. An insulated jug is useful when you want to hold coffee without continued hotplate heating, although brewing an appropriate quantity remains the simplest approach.
Manual Drip Methods
Manual drip gives you direct control over wetting, pouring and the water level above the grounds. A scale and timer make that control repeatable; the kettle provides the water rather than determining the recipe.
Flat-bottomed drippers and Melitta-style cones are the focus here. Detailed V60 and Chemex techniques belong in pour-over brewing.
What the bloom does
The bloom is the bubbling and expansion that can happen when hot water first wets coffee. It mainly reflects the release of carbon dioxide retained after roasting.
For the recipes below, wet the grounds, pause for 30 to 45 seconds, then continue pouring. The practical aim is thorough initial saturation, not the largest possible foam dome. A small bloom alone does not prove that coffee is stale.
Count bloom water within the recipe total. Adding it on top changes the ratio.
Pouring and temperature
Pour steadily across the coffee rather than directing the whole stream at one spot. Keep the water below the filter rim, and let it drain sufficiently before adding more.
Use 94°C kettle water for the starting recipes below. This is an editorial setting within Kalita’s published brewing range, not a promise that every coffee tastes best there. Kettle temperature and the temperature of the wet coffee bed are not interchangeable measurements.
Kalita Wave Pour-Over
The Kalita Wave has a flat bottom with three drainage holes and uses a matching pleated paper filter. That describes its construction, not a guarantee of even extraction: loading and pouring still need attention.
Starting recipe
Use a Wave 185, its matching paper, 20 g coffee, and 320 g brewing water, approximately 320 ml measured cold. The coffee-to-water ratio is 1:16. Start with a medium to medium-coarse grind and water at 94°C.
This follows Kalita USA’s published dose, water quantity and bloom guidance, with the pouring divided into two manageable stages.
- Prepare. Fit the paper and rinse it gently with hot water. Empty the rinse water from the server.
- Load. Add 20 g ground coffee and shake lightly to level the bed. Put the complete assembly on the scale and zero it.
- Bloom. Start the timer and pour 60 g water across the grounds. Wait until 45 seconds.
- First main pour. Pour gently in circles until the scale reads 190 g total. Pause if the water approaches the paper’s rim.
- Final pour. Continue to 320 g total, keeping the pleated filter in place.
- Drain and serve. Let the main flow finish, then remove the dripper and stir the coffee.
Kalita’s published guide suggests a total brewing time of 2 to 3 minutes. Treat that as a diagnostic reference, not a deadline: if the cup tastes good, do not force it faster merely to match a number.
Melitta Cone
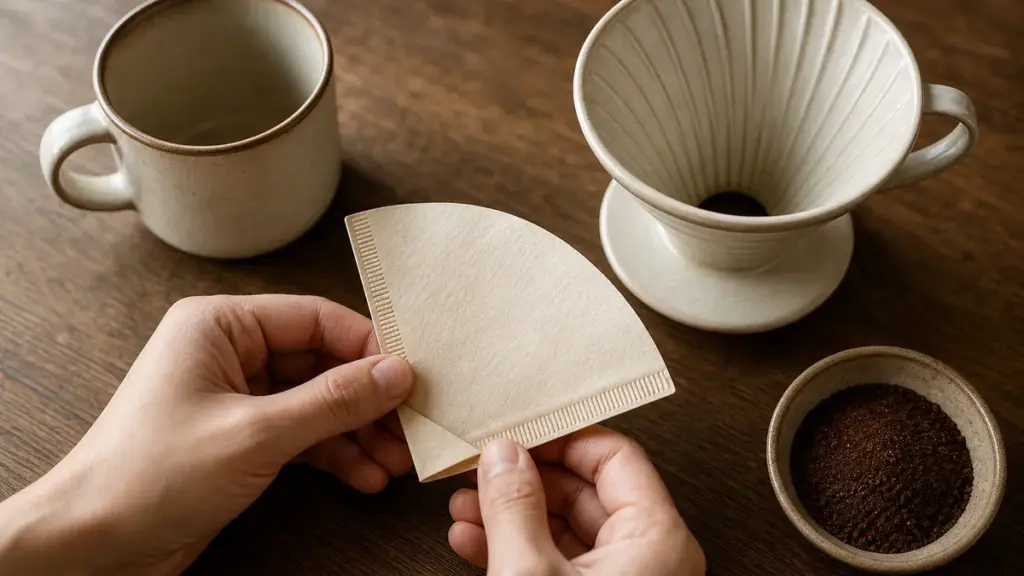
A Melitta-style cone uses a seamed, wedge-shaped paper rather than the Wave’s pleated basket. Match the paper to the particular holder: filter sizes and drainage arrangements are not universal.
Melitta’s own instructions specify folding the paper seams, fully saturating the grounds and pouring in a swirling motion. Its US guide calls for finely ground coffee; the recipe below begins at a medium-fine filter setting, with adjustment according to drainage.
Starting recipe
Use 15 g coffee and 250 g water, approximately 250 ml measured cold, for a coffee-to-water ratio of about 1:16.7. Use water at 94°C, a compatible paper and a receiving vessel with sufficient capacity.
The quantities and schedule below are an editorial starting recipe, not a quoted Melitta formula.
- Fit the filter. Fold its embossed seams and seat it securely. Rinse with hot water and discard the rinse water.
- Add coffee. Load 15 g medium-fine grounds and level them gently. Zero the scale.
- Bloom. Start the timer, add 45 g water and wait until 30 seconds.
- Continue pouring. Add water in controlled circles until the scale reads 150 g total.
- Finish the water. As space becomes available, continue to 250 g total. Do not fill above the filter rim.
- Drain and assess. Remove the cone when the main flow ends. Record the total time and taste before changing anything.
If water barely moves through, try a slightly coarser grind next time and check the paper’s seating. Do not puncture the filter or stir aggressively to rescue a blocked brew.
Troubleshooting drip brewing
Use these as diagnostic leads, not certain diagnoses. Begin with the visible fault, then make one controlled change.
| Symptom | Likely cause | Fix |
|---|---|---|
| Thin, sharply sour coffee | Insufficient extraction, possibly from a coarse grind | Keep the ratio fixed and try a slightly finer grind |
| Harsh, bitter coffee | Grind too fine, or a coffee whose roast character you dislike | Try slightly coarser; compare another coffee if bitterness remains |
| Weak but otherwise balanced | Concentration below your preference | Increase the coffee dose modestly, within basket capacity |
| Basket overflowing | Fine grind, excessive dose, blocked outlet or poorly seated paper | Stop safely; check capacity, filter fit and drainage |
| Machine suddenly brewing slowly | Possible scale or blockage | Follow its cleaning and descaling instructions |
| Grounds entering the jug | Torn, folded or incorrectly sized paper | Replace with the correct filter and seat it securely |
Why temperature is not the whole answer
In a controlled sensory experiment published in Scientific Reports in 2020, researchers compared drip coffee brewed at 87°C, 90°C and 93°C while adjusting other variables to hold strength and extraction constant. Temperature had little effect on the sensory profile under those conditions.
That does not mean temperature never matters. It means grind, flow and the resulting extraction must be considered alongside it.
Standards have also changed. SCA Standard 310-2021 specifies a 90 to 96°C slurry temperature, reached by the time one third of the water has been delivered and maintained thereafter. Older guidance commonly quoted 92 to 96°C. Neither figure is a compulsory kettle setting for manual brewing.
For dependable drip brewing, keep a short record and make adjustments you can explain, rather than chasing a supposedly perfect temperature.
FAQ
Can I use pre-ground coffee?
Yes, provided its grind suits the brewer. Begin with coffee sold for filter brewing rather than espresso, then assess drainage and taste. If it repeatedly blocks the paper or runs through too quickly, ask your supplier for a different grind. Keep the dose and water quantity consistent while comparing.
Can I make a small batch in a large drip machine?
Only within the batch sizes supported by that machine. Check its minimum quantity and whether it provides a small-batch setting. Do not assume that reducing coffee and water proportionally will reproduce a full batch, because the brewer’s delivery programme may be designed around a particular operating range.
Is a larger bloom evidence of better coffee?
No. Visible blooming varies with roast level, freshness, grind and storage, so it is not a quality score. Look for complete wetting rather than impressive bubbling. Keep your bloom procedure consistent and judge the finished drink; a restrained bloom alone is not a reason to reject the coffee.
Where to go next
Use Brewing Methods to find another technique, or Coffee Brewing Methods: The Complete Guide to compare the main brewing families. Read Pour-Over for detailed hand-pouring techniques, and Espresso when you want to move from gravity-driven drip brewing to pressure brewing.
Sources
-
Specialty Coffee Association, SCA Standard 310-2021: Home Coffee Brewers, Specifications and Test Methods, ©2022, especially sections 4, 6.2 and 7.1.4. SCA-authored document retrieved from a public mirror:
https://coffeegeek.com/wp-content/uploads/2023/10/SCAGoldCupStandard.pdf. -
Specialty Coffee Association, SCA Certified Home Equipment, undated, current listing checked November 2026:
https://sca.coffee/certified-home-brewer. -
Kalita USA, The Kalita Pour-Over Method for Exceptional Coffee, undated:
https://kalitausa.com/blogs/news/brew-like-a-pro-the-kalita-pour-over-method-for-exceptional-coffee. -
Kalita USA, Find Your Perfect Kalita Dripper: A Comparison, undated:
https://kalitausa.com/blogs/news/find-the-perfect-dripper. -
Melitta USA, 1-Cup Pour-Over Coffee Brew Cone, Black, product instructions, undated:
https://shoponline.melitta.com/products/1-cup-pour-over-coffee-brew-cone-black. -
Melitta UK, Filters, filter-paper FAQ, undated:
https://www.melitta.co.uk/faq/filter-papers. -
Technivorm Moccamaster, Questions, usage and maintenance FAQ, undated:
https://www.moccamaster.eu/faq. -
Technivorm Moccamaster, KBGT 20: Instructions for Use, 2019 file version:
https://www.moccamaster.nl/pub/media/handleidingen/kbgt_20_-_20191009.pdf. -
Moccamaster USA, What Is the Coffee Bloom?, updated 14 September 2026:
https://support.moccamaster.com/hc/en-us/articles/1500009407381-What-is-the-coffee-bloom. -
Batali, M. E., Ristenpart, W. D. and Guinard, J.-X., Brew temperature, at fixed brew strength and extraction, has little impact on the sensory profile of drip brew coffee, Scientific Reports, 2020:
https://www.nature.com/articles/s41598-020-73341-4.pdf. -
Specialty Coffee Association, Marco Wellinger, Water and Coffee Acidity: How to Adapt Your Water for Different Extraction Methods, 25 Magazine, issue 9, undated webpage:
https://sca.coffee/sca-news/25/issue-9/english/water-and-coffee-acidity-how-to-adapt-your-water-for-different-extraction-methods-25-magazine-issue-9-pxjby.
Retrieved page address: https://sca.coffee/sca-news/25/issue-9/english/water-and-coffee-acidity-how-to-adapt-your-water-for-different-extraction-methods-25-magazine-issue-9-pxjby.
Research used retrieved SCA documents, manufacturer instructions and peer-reviewed sensory research; editorial recipe adaptations are identified and do not represent first-hand testing.
Last checked: November 2026