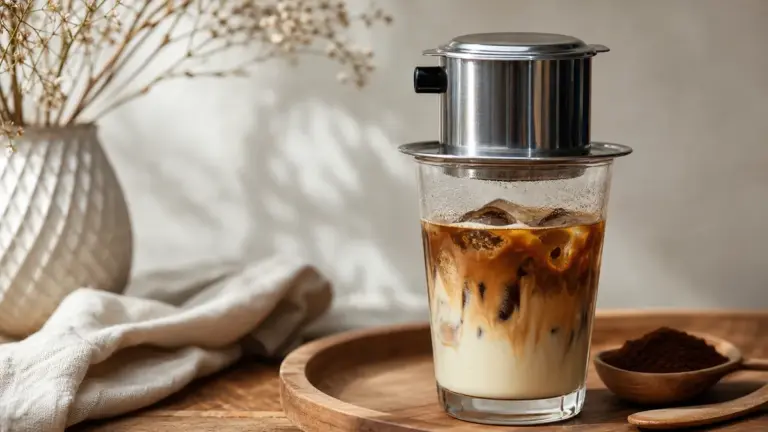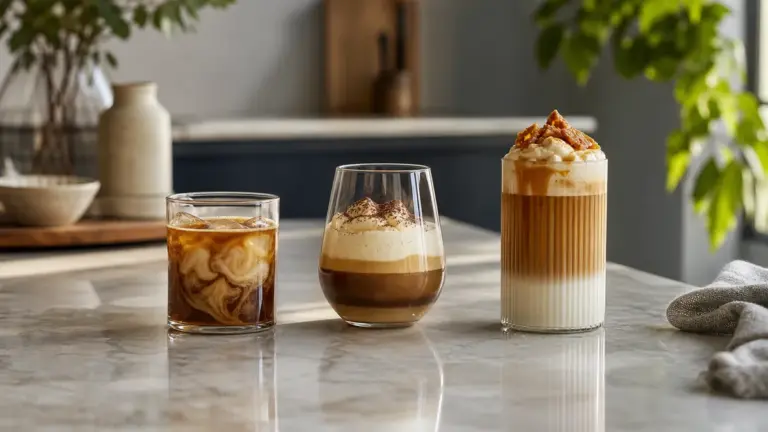
A cappuccino combines espresso with steamed milk and a generous layer of fine, creamy foam. To make a small classic version, start with approximately 25 ml of espresso and 100 ml of cold milk, then steam the milk until it expands enough to fill a 150 to 160 ml cup with the coffee.
In short
- Choose a small cup first: 150 to 160 ml suits the Italian-style recipe below.
- The familiar one-third espresso, one-third milk and one-third foam description is a simplified model, not a universally enforced recipe.
- Aim for glossy, closely textured foam, not stiff bubbles sitting above watery milk.
- For this home method, finish steaming dairy milk at 60 to 65°C. The Italian certification recipe specifies a cooler drink.
- Cocoa is optional. Taste the plain cappuccino before deciding whether to add it.
Classic Cappuccino
A good cappuccino should bring coffee and milk together without making either disappear. The foam gives the first sip a soft, rounded texture, while espresso remains recognisable beneath it.
For the wider family of drinks, see espresso-based drinks. Here, the useful starting point is a small cup, a single espresso and carefully textured milk.
What are the classic cappuccino ratios?
You will often see cappuccino described as equal thirds of espresso, steamed milk and foam. De’Longhi uses this description in its brewing guidance, so it is not simply an internet invention. However, it is better understood as a teaching model than a recipe that every café follows.
The Italian Espresso National Institute gives a different, specific formulation for its Certified Italian Cappuccino: 25 ml espresso with 100 ml cold milk, steamed to approximately 125 ml, served in a 150 to 160 ml cup. These quantities plainly do not divide into equal thirds.
Milk and foam are also not wholly separate ingredients. Foam is milk containing air, and its volume changes with aeration and settling. Trying to measure three rigid layers can distract you from the more useful goal: a balanced drink with a fine, creamy foam cap.
The recipe below follows the Italian-style quantities, but uses a warmer home-steaming target. It is not presented as a certified preparation.
Cappuccino recipe card
Serves: 1
Time: allow approximately 5 minutes once the machine is ready, an indicative preparation allowance rather than a tested timing
Cup: 150 to 160 ml
Equipment: espresso machine with steam wand, suitable single-shot basket, grinder if using whole beans, scales, small steaming jug, milk thermometer and clean damp cloth
Ingredients
- 7 g ground coffee, suitable for the machine’s single-shot basket
- Approximately 25 ml prepared espresso, made from that coffee
- 100 ml cold pasteurised whole milk
- Optional: a light dusting of unsweetened cocoa
The coffee dose and prepared espresso describe the same ingredient at different stages. Do not add another shot.
Approximate caffeine: about 60 mg when using an espresso comparable to illy’s published single-shot example. Illy specifies 7 g coffee per espresso and reports approximately 60 mg caffeine in its roughly 30 ml espresso. This is a product-based estimate, not a measurement of this recipe or a universal cappuccino figure; other coffees and extraction settings can differ substantially.
During pregnancy, NHS guidance is no more than 200 mg caffeine daily from all sources. Individual sensitivity varies; speak to a GP, pharmacist or midwife if you need personal advice.
Method
-
Prepare the machine and cup. Follow the machine’s warm-up instructions and warm the cup. Measure the cold milk into a clean jug. If this quantity falls below your machine’s minimum steaming level, steam an appropriate quantity and pour only enough to fill the cup.
-
Make the espresso. Grind and distribute the 7 g dose, tamp level and brew approximately 25 ml into the cup. Traditional Italian espresso guidance allows approximately 20 to 30 seconds, but follow the basket and machine instructions rather than forcing an unsuitable dose into a larger basket.
-
Purge the steam wand. Briefly release steam towards the drip tray, away from your hands, to clear residual water. Put the wand into the milk before starting the steaming cycle.
-
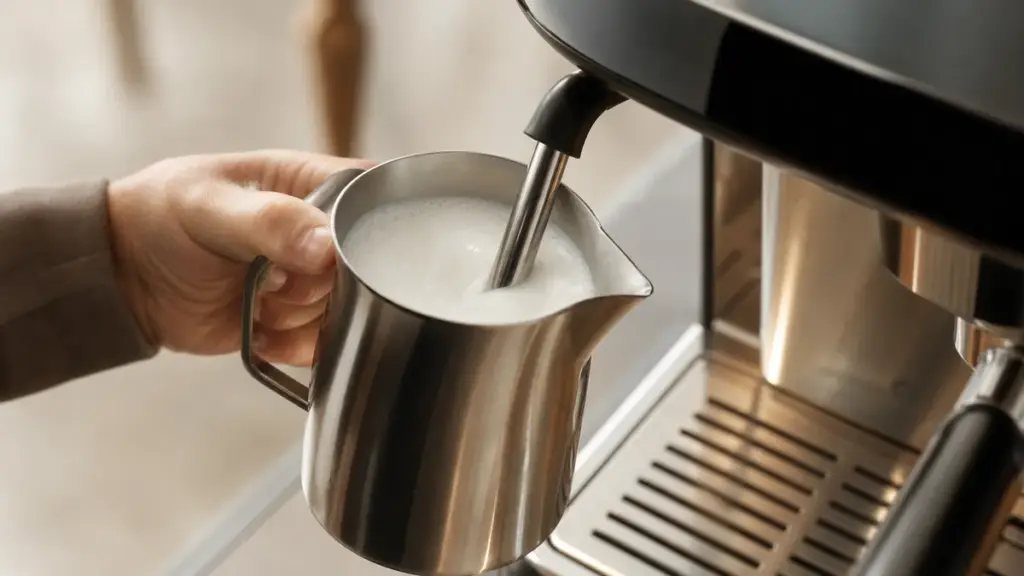
Introduce air gently. Position the tip just beneath the surface, slightly off-centre. Lower the jug carefully until the tip begins drawing air into the circulating milk. Avoid loud spluttering or exposing the tip completely.
-
Mix and heat. Once you have enough foam to finish the drink, raise the jug slightly so the tip sits farther beneath the surface. Maintain circulation and finish at 60 to 65°C, checked with the thermometer. Steaming time depends on the machine, so temperature and texture are better stopping cues than a fixed number of seconds.
-
Stop safely and clean. Switch off the steam and wait for it to stop before withdrawing the wand. Wipe it with the clean damp cloth, then purge it as directed by the manufacturer.
-
Swirl and pour. Swirl the jug to keep the foam and liquid milk together. Pour into the espresso, allowing the thicker foam to finish the surface. Stop when the cup is full without overflowing, then serve promptly.
Cup size matters more than a perfect-looking diagram
For this recipe, a 150 to 160 ml cup is part of the method, not merely presentation. It keeps the milk quantity in proportion to the single espresso.
Do not automatically fill a large mug using the same coffee base. If the result tastes too milky, first reduce the milk or use a smaller cup, rather than changing the grind and steaming technique simultaneously. Keeping the cup constant makes your next attempt easier to assess.
For other drinks to try with the same equipment, browse coffee recipes.
Milk texture and troubleshooting
The target is foam that flows with the milk while giving the finished drink a substantial, creamy surface. It should not resemble a dry spoonful of bath bubbles.
Microfoam means milk containing very small bubbles, giving it a smooth rather than visibly bubbly texture. Introducing air creates the foam; circulating the milk helps distribute it. These are related jobs, but simply heating milk with the wand buried deeply does not deliberately draw in the air needed for a cappuccino.
Whole milk is a useful starting choice for a rounded texture. Other dairy milks can work too, so keep the milk consistent while learning rather than changing several variables at once.
| Symptom | Likely cause | Fix |
|---|---|---|
| Large, popping bubbles | Tip too exposed or air introduced too aggressively | Keep the tip nearer the surface and lower the jug more gradually |
| Hot milk with little foam | Tip stayed too deep during aeration | Bring it closer to the surface before completing the heating stage |
| A stiff foam island above thin milk | Excess aeration or poorly mixed foam | Introduce less air next time; swirl before pouring |
| Unpleasant cooked flavour | Milk overheated | Use a thermometer and finish within the stated target |
| Weak steam or worsening texture | Steam-tip holes may be obstructed | Follow the manufacturer’s cleaning procedure; do not compensate by steaming longer |
Why milk forms foam
Milk proteins help stabilise the boundary between air bubbles and the surrounding liquid. That is why steaming technique alone does not determine the result: milk composition and processing also affect foaming behaviour.
Controlled laboratory research on milk foams supports this mechanism, but does not establish one ideal cappuccino for every milk and machine. The practical lesson is to assess both foam volume and texture. A jug full of bubbles is not necessarily a jug of good pouring milk.
Temperature guidance is not identical everywhere
The Italian certification preparation specifies approximately 55°C, whereas Sage and Breville publish home-steaming guidance of 60 to 65°C. These are different preparation targets, not evidence of one universally mandatory temperature.
This recipe uses the warmer manufacturer-guided target. Do not keep heating milk simply to create more foam once it has reached that temperature.
Keep dairy milk refrigerated and follow its storage instructions and date marking. FSA guidance recommends a fridge temperature between 0 and 5°C. Steaming is not a way to rescue milk that has been stored incorrectly.
Cocoa or not?
Cocoa is optional, not a defining ingredient. The Italian certification preparation describes espresso and milk without requiring a chocolate topping; De’Longhi and Breville include chocolate or cocoa in their serving suggestions.
For your first attempt, leave it off so you can judge the coffee and milk clearly. Afterwards, add a light dusting if you enjoy the contrast. Unsweetened cocoa and sweetened drinking chocolate are not interchangeable choices, so check the packet before adding either.
There is no need to settle the question by declaring one version authentic and every other version wrong. Just make the topping a deliberate choice.
Flavoured Variations
Treat these as optional adaptations of the base recipe, not alternative definitions of a classic cappuccino. The quantities below are suggested starting points for adjustment, rather than standardised or tested formulations.
- Vanilla: stir 5 ml vanilla coffee syrup into the espresso before adding milk. Taste before increasing it.
- Hazelnut: begin with 5 ml hazelnut-flavoured coffee syrup. Check its ingredients and allergen information rather than assuming the flavour name tells you what it contains.
- Chocolate: mix 3 g unsweetened cocoa and 3 g sugar into the hot espresso before pouring the milk. Expect a more chocolate-led drink.
- Cinnamon: finish with a restrained pinch of ground cinnamon instead of cocoa. Keep the first attempt light enough to compare with the plain version.
Add syrup to the cup rather than the steaming jug for this method, keeping the milk preparation unchanged. Leave enough room for the addition instead of filling the cup past its rim.
For a plant-based version, follow the drink manufacturer’s steaming guidance, including any temperature recommendation. Do not assume that every oat, soya or almond drink will behave like dairy milk, or that every barista-labelled product needs identical treatment. Check ingredients and shared-equipment precautions when preparing drinks for someone with an allergy.
Italian versus chain cappuccino
The certified Italian model provides a compact reference recipe. Chain cappuccinos are better approached as individual menu products, with their own sizes, ingredients and customisations.
For example, Starbucks UK’s retrieved beverage guide lists its core cappuccino in Short, Tall, Grande and Venti sizes. That illustrates why the word cappuccino alone does not tell you the quantity of milk or coffee you will receive. Consult the café’s current recipe or nutrition information rather than treating the name as a fixed specification.
When ordering, ask about cup size, espresso quantity and toppings. A larger drink is not automatically stronger-tasting, and a foamier drink does not automatically contain more caffeine.
The broader coffee drinks guide helps place these menu differences in context without turning them into rigid universal rules.
FAQ
Can I make cappuccino without a steam wand?
You can make an approximation using espresso and a separate milk frother. Follow the frother’s minimum fill and temperature instructions, then swirl the milk before pouring. Mechanical frothing and steam injection do not necessarily produce identical foam, so judge the result by its texture rather than expecting it to match a steamed cappuccino exactly.
Can I use a double espresso?
Yes, but treat it as an adaptation rather than the single-shot recipe above. Use the dose recommended for your double basket, then adjust the milk and cup to your preference. Do not squeeze a double dose into a single basket. Its caffeine content needs a separate estimate rather than borrowing the recipe card’s figure.
Does a cappuccino need latte art?
No, a pattern is optional presentation rather than the purpose of the drink. Concentrate first on a balanced coffee flavour, smooth foam and a clean pour. A neat white surface is preferable to a decorative pattern made with overheated milk or a drink whose proportions you do not enjoy.
Where to go next
Read Latte for a milkier alternative, then Flat White to explore a different approach to milk texture and balance. Espresso-Based Drinks places cappuccino alongside its closest relatives, while Coffee Recipes provides the next recipes to practise.
Sources
-
Italian Espresso National Institute, The Certified Italian Espresso and Cappuccino, undated brochure; espresso conformity reference DTP 008, edition 1.
-
De’Longhi UK, The Perfect Cappuccino Recipe, undated manufacturer guidance.
https://www.delonghi.com/en-gb/e/r/cappuccino -
Sage, the Bambino: SES450 Instructions, document revision EU UG6 E21.
https://assets.sageappliances.com/SES450/SES450_EU_UG6_E21_FA_WEB.pdf -
Breville, Cappuccino, undated manufacturer recipe.
https://www.breville.com/us/en/coffee-journey/recipes/cappuccino.html -
illy Australia, Frequently Asked Questions, undated manufacturer information.
https://illy.com.au/pages/faqs -
Ho and colleagues, Ability to re-foam frothed milk at different solid concentrations and their foam structure, International Journal of Dairy Technology, 2024.
https://onlinelibrary.wiley.com/doi/full/10.1111/1471-0307.13074 -
Food Standards Agency, How to chill, freeze and defrost food safely, 2017, current retrieved guidance.
https://www.gov.uk/government/publications/how-to-chill-freeze-and-defrost-food-safely/how-to-chill-freeze-and-defrost-food-safely -
NHS, Foods to avoid in pregnancy, current retrieved guidance.
https://www.nhs.uk/pregnancy/keeping-well/foods-to-avoid/ -
Starbucks UK, Nutrition & Allergen Guide: Spring Beverages, version 30 March 2026. Used as a dated example of chain size options, not as a claim about the latest menu.
https://www.starbucks.co.uk/sites/starbucks-uk-pwa/files/2026-03/SPR26_UK_AllergenBook_CORE_BEVERAGE_v06.pdf
The piece was researched using a published Italian certification recipe, manufacturer instructions, peer-reviewed milk-foam research and official food-safety and pregnancy guidance; no first-hand testing is claimed.
Last checked: November 2026