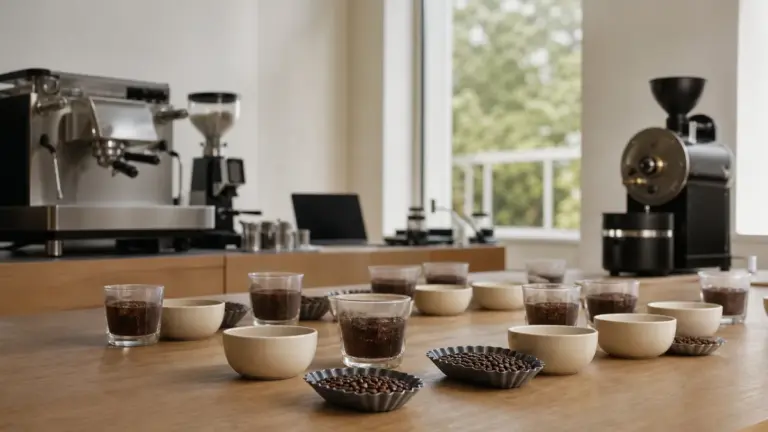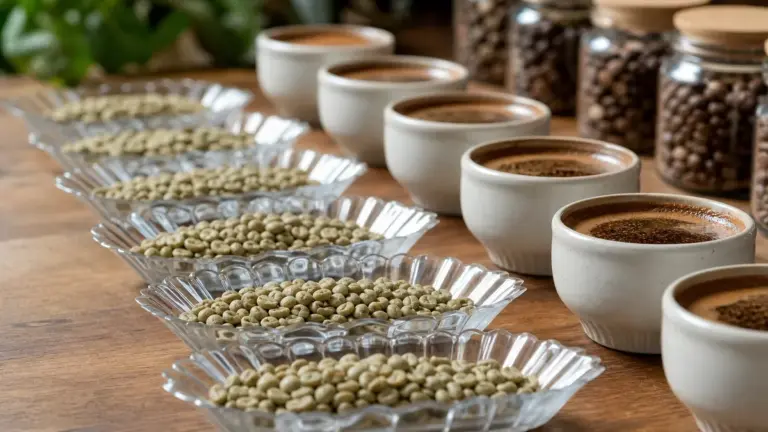
To taste coffee using cupping, brew different coffees under the same conditions, smell them before and after adding water, then compare small spoonfuls as they cool. Use the SCA and World Coffee Research flavour wheel to move from broad impressions, such as fruity or roasted, towards more specific descriptions without forcing a match.
In short
- For a first home exercise, compare two coffees in identical bowls. This is tasting practice, not a formal professional assessment.
- Current SCA cupping uses 8.25 g of coffee per 150 ml of vessel capacity, with water at 93°C, allowing a tolerance of 3°C either side.
- Break the crust after 4 minutes for this exercise. Both the retrieved heritage protocol and current standard permit 3 to 5 minutes.
- Describe what you perceive before deciding whether you like it. The SCA Coffee Value Assessment separates descriptive assessment from impressions of quality.
- Start at the centre of the flavour wheel. A confident “citrus” is more useful than an uncertain “grapefruit”.
What cupping tells you
Cupping is a method of sensory assessment in which separately ground portions of coffee are brewed directly in individual vessels. Keeping preparation consistent makes comparisons more meaningful, although the exercise still includes the effects of roasting and brewing, not just the identity of the beans.
For your first session, ask a modest question: how do these coffees differ? Try to identify which has stronger acidity, which feels thicker and which leaves the longer aftertaste. These are more manageable observations than producing a list of unfamiliar fruits.
There are several parts to the experience:
- Fragrance: the smell of dry grounds.
- Aroma: the smell after brewing.
- Flavour: taste combined with aroma perceived through the back of the nose while coffee is in the mouth.
- Aftertaste: the sensation remaining after swallowing or spitting.
- Mouthfeel: texture, thickness and sensations such as drying.
Keep a notebook rather than relying on memory. For a wider learning path beyond tasting, start with coffee education.
Current SCA cupping versus the heritage protocol
What changed with the Coffee Value Assessment?
The SCA’s current sensory standards are SCA-102-2024, covering preparation and tasting mechanics; SCA-103-2024, covering descriptive assessment; and SCA-104-2024, covering affective assessment. They supersede the heritage 2004 cupping protocol rather than merely adding another score sheet to it.
The useful distinction is between two questions:
- Descriptive: what is present, and how intense is it?
- Affective: what impression of quality does it give the evaluator, personally or for a particular market?
The wider CVA framework also includes physical assessment and extrinsic information, such as traceability. Those are separate from describing what is in the cup.
Which familiar instructions still apply?
The heritage method is often summarised as 8.25 g per 150 ml, water around 93°C and a four-minute steep before breaking the crust. However, the retrieved SCAA protocol, revision 21 November 2009, specifies a 3 to 5 minute interval, not exactly four minutes. Four minutes is a convenient repeatable choice within that interval.
CVA retains familiar preparation mechanics but changes how observations and judgements are recorded. Its descriptive form uses intensity ratings and “check-all-that-apply” categories. A stronger fragrance is not automatically a better fragrance.
Formal affective cupping requires five independently prepared cups per sample. Descriptive assessment can use three to five cups when cupping, or an appropriate batch-brewed method. The single-bowl home exercise below is deliberately simpler and should not be presented as a compliant professional CVA assessment.
Equipment and preparation
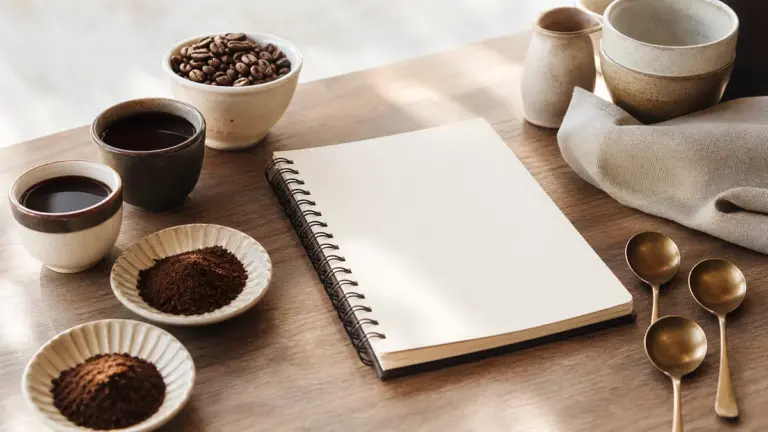
For the home exercise, gather:
- Two contrasting coffees, preferably without added flavourings.
- Two identical, heat-safe ceramic bowls with approximately 200 ml capacity to the rim.
- A grinder and scales reading to 0.1 g.
- A kettle, thermometer and timer.
- Two clean soup or cupping spoons.
- A bowl for discarded grounds, drinking water and a personal spitting vessel.
- A notebook and a legitimate copy of the SCA/WCR flavour wheel.
Choose a quiet surface away from cooking smells, scented candles and perfume. Identical vessels and an environment without interfering aromas are established cupping preparation principles.
Use the same water for every sample. Taste it separately first, and record its source so you can repeat the exercise. Do not assume every filtered water has the same mineral composition.
Keep the coffee bags out of sight until you have written your first notes. The CVA guidance calls for sensory assessment without identifying information about the coffee.
How to cup coffee at home
This method borrows professional mechanics but uses fewer bowls and ordinary roasted coffee. The practical timings are a suggested home routine, not additional SCA requirements.
-
Measure the bowls and calculate the dose.
Weigh the room-temperature water each empty bowl holds to the rim, using approximately 1 g per ml. For a 200 ml vessel, calculate 200 × 8.25 ÷ 150 = 11 g of coffee. This follows the current standard’s vessel-capacity method; do not assume that pouring 200 g of water onto grounds is identical to filling a 200 ml bowl. -
Grind and smell.
Weigh and grind each portion separately, using a setting slightly coarser than your usual paper-filter grind. Smell the dry grounds immediately and write one broad impression for each. Use the same setting throughout. -
Add water and start the clock.
Aim for 93°C at pouring. Wet all the grounds and fill each bowl to the rim. Pour in sequence and record the start time for each bowl, then leave the floating layer undisturbed. -
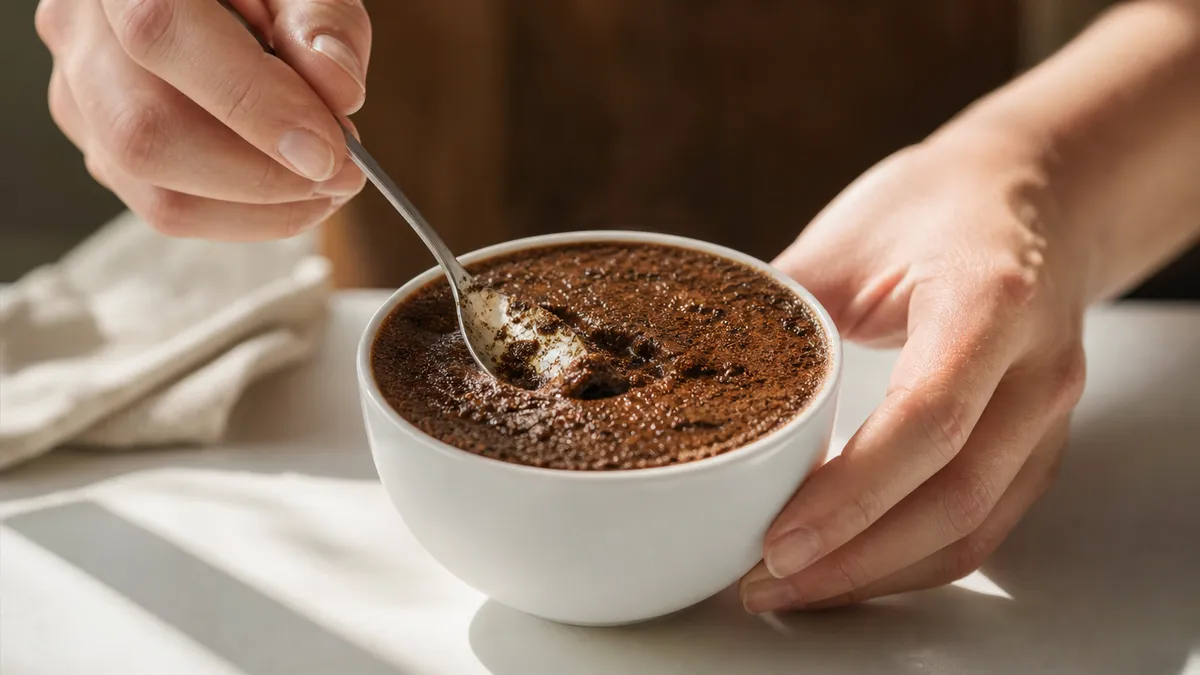
Break the crust at 4 minutes.
Bring your nose near the bowl without touching it. Stir through the surface approximately three times with the spoon, gently sniffing the released aroma. Avoid splashing or vigorous whisking. -
Skim the surface.
Remove the remaining floating grounds and foam with clean spoons. Leave the settled grounds alone. -
Begin tasting when comfortably cool.
For this home exercise, check at about 10 minutes after pouring, but wait longer if necessary. Put a small amount on the spoon and draw it into your mouth with a little air. A gentle slurp is enough; the purpose is sensory assessment, not volume. Slurping is recommended in SCA guidance to help retronasal perception, meaning aroma perceived through the back of the nose. -
Return as the coffee cools.
Make further comparisons at approximately 15 and 20 minutes, adjusting for your bowls and room. Record flavour, acidity, sweetness, mouthfeel and aftertaste, then add your preference separately. Repeated tasting during cooling is part of established cupping practice.
You need not swallow each sample. In a shared session, keep mouth-contact utensils out of communal bowls: use a designated transfer spoon to serve a personal tasting vessel. This follows the SCA’s alternative sanitary arrangement.
How to use the coffee flavour wheel
Work from broad to specific
The Coffee Taster’s Flavor Wheel, updated in 2016 through collaboration between the SCA and World Coffee Research, is a vocabulary tool. Its foundation is the WCR Sensory Lexicon.
Taste first, then consult the wheel. Begin with a central family, such as fruity, floral, roasted or nutty/cocoa. Move outwards only while the description still fits: fruity → citrus fruit → orange, for example. Stopping at a broader category is entirely legitimate.
Try writing a sentence rather than collecting descriptors:
“Citrus-like flavour, noticeable acidity, smooth texture and a lingering cocoa finish.”
That is an illustrative note, not a description of a particular coffee. It tells another reader more than “complex and delicious”.
Separate taste, aroma and texture
“Lemon” can involve both sour taste and a recognisable aromatic character. “Mouth-drying” describes a tactile sensation, not simply a bitter taste. Keeping these observations distinct helps you explain why two coffees with similar acidity can feel very different.
Do not use the wheel as a checklist of desirable flavours or a scoring ladder. The CVA descriptive approach explicitly separates intensity from desirability.
Use the lexicon when words become uncertain
The WCR Sensory Lexicon identifies 110 flavour, aroma and texture attributes, with definitions and references. Version 2.0, published in October 2017, added globally available references for selected attributes.
Its purpose is to make descriptions more consistent through reference-based sensory work. The wheel makes the vocabulary accessible, but looking at it does not replace training and calibration. Some lexicon references are for smelling only and must not be consumed.
Practice exercises that build useful habits
Treat these as suggested exercises, not certification tests.
Compare before naming. Taste two coffees and complete three sentences: “This one is more…”, “This one feels…” and “This one finishes…”. Only then consult the wheel.
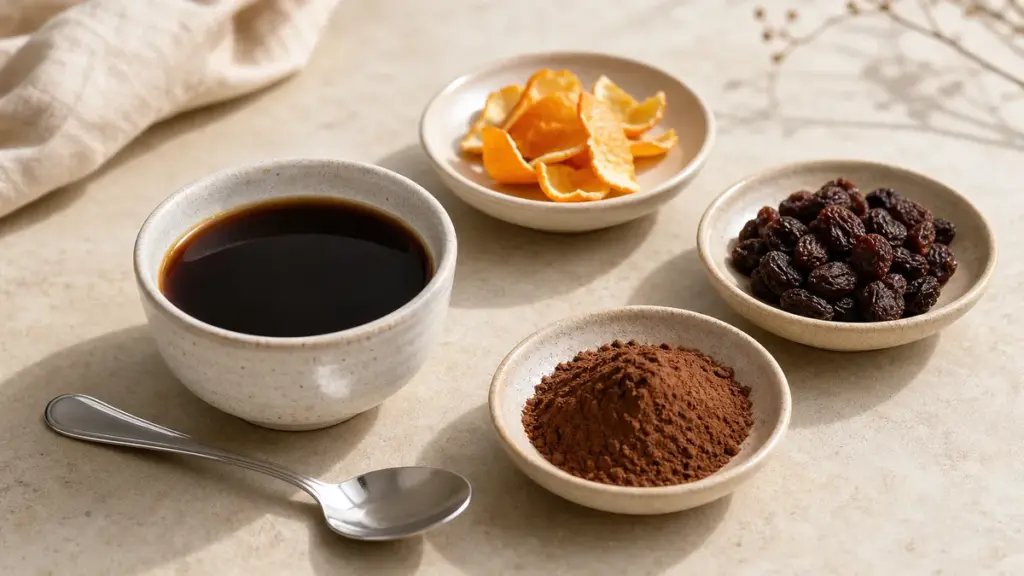
Build an edible reference set. Smell familiar foods such as orange peel, raisins and cocoa separately from the coffee. Return to the bowl and ask whether the resemblance is convincing. These are informal memory aids, not substitutes for the lexicon’s specified references.
Repeat a hidden sample. Ask someone to prepare the same coffee twice alongside another coffee, without telling you which is repeated. Compare your notes afterwards. The aim is to examine your consistency, not to pass or fail.
Describe before discussing. Everyone writes independently, then compares notes. Keep a distinction between agreement about a broad family and agreement about a specific fruit.
For structured assessment pathways, see Q grader certification. To explore how tasting fits into professional work, read about coffee career routes.
Troubleshooting your tasting
The table offers checks rather than diagnoses. Change one preparation variable at a time.
| Symptom | Likely cause to check | Fix |
|---|---|---|
| Every cup seems overwhelmingly hot | Tasting before you can assess comfortably | Wait, then take a smaller spoonful |
| Notes change after reading the bag | Identifying information entered the exercise | Hide the bags and write first |
| Bowls are difficult to compare | Different doses, vessels or pouring times | Standardise preparation and record timings |
| Grit distracts from flavour | Floating grounds or disturbed sediment | Skim carefully and sample near the surface |
| You cannot choose a specific fruit | The broader category fits better | Keep “fruity” or “citrus”; do not force precision |
These checks reflect the preparation controls, blind-assessment guidance and broad-to-specific vocabulary approach described above.
FAQ
Can I practise with decaffeinated coffee?
Yes, you can use decaffeinated coffee for this home comparison exercise. Apply the same preparation controls and describe what you perceive rather than treating it as a special guessing challenge. This is a suggested learning exercise, not a claim that every decaffeinated product will resemble its caffeinated counterpart.
Should everyone find exactly the same tasting notes?
No, identical wording is not the goal of an informal session. The lexicon provides definitions and references precisely to support more consistent communication. Compare broad observations first, then investigate specific disagreements with references rather than assuming the most confident speaker must be right.
Can I use my normal brewed coffee instead of cupping?
Yes, the flavour wheel can be used with ordinary brewed coffee as well as cupping. Record what you smell and taste, then work from broad categories towards specific descriptors. Current SCA descriptive assessment also permits suitable batch brewing, although formal assessment has requirements beyond this casual exercise.
Where to go next
Use Coffee Education to place learning how to taste coffee within a broader study plan, then read Q Grader Certification for the professional assessment route. If tasting suggests a career direction, How to Become a Barista, Roaster or Q Grader is the next practical read.
Sources
- Specialty Coffee Association. Coffee Value Assessment: Sample Preparation and Tasting Mechanics. SCA Standard 102-2024, 2024. Official standard.
- Specialty Coffee Association. Coffee Value Assessment: Descriptive Assessment. SCA Standard 103-2024, 2024. Official standards directory.
- Specialty Coffee Association. Coffee Value Assessment. Current framework and assessment resources, undated. Official resource.
- Specialty Coffee Association of America. Cupping Specialty Coffee. Revision 21NOV2009A, 2009. SCAA-authored heritage document, retrieved from a third-party archive. Archived protocol.
- Specialty Coffee Association. A System to Assess Coffee Value: Understanding the SCA’s Coffee Value Assessment. June 2024. Used for developmental context, definitions and sanitary tasting arrangements, not as a replacement for the adopted standards. Retrieved during the original research session; the former direct PDF address was unavailable on revision. Current CVA resource page.
- Specialty Coffee Association. How to Use the Coffee Taster’s Flavor Wheel in Eight Steps. Undated retrieved page. Official guidance.
- World Coffee Research. Sensory Lexicon. Resource page documenting version 2.0, October 2017. Official resource.
- Specialty Coffee Association. SCA Digital Products: Coffee Taster’s Flavor Wheel. Current catalogue entry documenting the 2016 SCA/WCR revision. Official publication record.
Researched from retrieved SCA standards and guidance, the SCAA-authored heritage protocol and World Coffee Research resources; the home routine and practice exercises are clearly identified editorial adaptations, not first-hand testing.
Last checked: November 2026