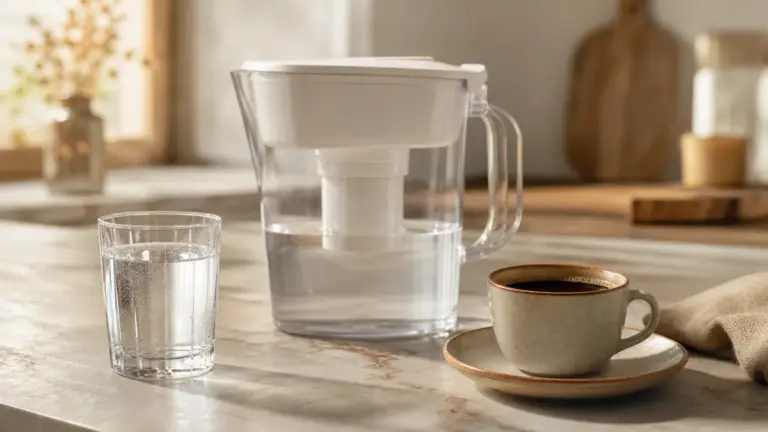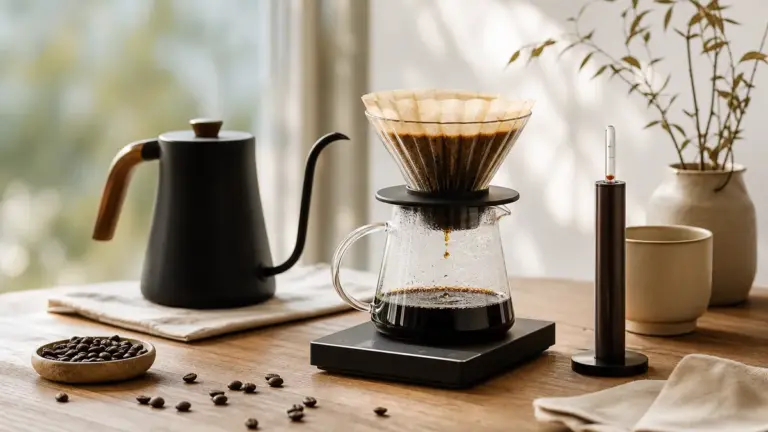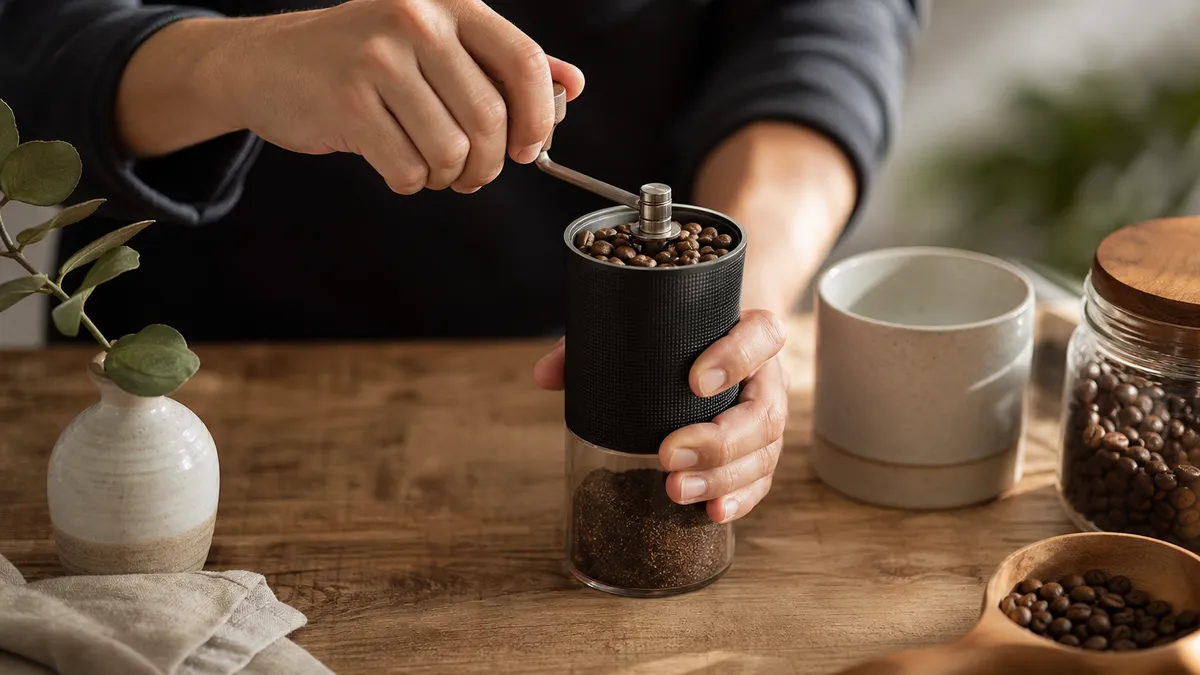
To grind coffee properly, weigh the beans, choose a setting suited to your brewing method, and grind only what you are about to brew. With either a manual or electric burr grinder, a repeatable routine matters more than turning the handle quickly or chasing someone else’s setting.
In short
- Weigh both the beans going in and the grounds coming out, especially when learning a grinder’s behaviour.
- Use the manufacturer’s recommended setting as a starting point, not a guaranteed answer.
- With a manual grinder, use a comfortable, steady action and never force a jammed handle.
- Water can reduce static, but the Ross Droplet Technique is optional and may be unsuitable for your grinder. Follow its manufacturer’s advice.
- Brush out accessible grounds regularly, and unplug electric grinders before cleaning or removing parts.
Before you start: beans, scales and a suitable setting
Have your brewer ready before grinding. Grinding accelerates the release of carbon dioxide and aroma compounds, while exposure to oxygen contributes to staling. There is no useful universal countdown after which grounds suddenly become unusable, but grinding immediately before brewing avoids unnecessary storage.
Use scales rather than a scoop to measure your dose, meaning the mass of coffee for the brew. Weighing makes it possible to repeat a recipe without relying on how tightly beans or grounds fill a spoon.
A burr grinder breaks beans between toothed grinding surfaces. Adjusting their separation changes the grind, giving more control than a blade grinder, which chops beans into progressively smaller pieces as it runs. Neither produces particles that are all exactly the same size.
Choose a starting setting from your grinder’s instructions for the intended brewer. Setting numbers and clicks are model-specific: they are not a shared measurement system. Use the grind size chart for broad orientation, rather than copying a number from an unrelated grinder.
This article concentrates on operating the grinder. The wider relationship between the particles you produce and the drink you brew belongs in grind size and extraction.
How to grind coffee: a repeatable method
The following practice routine uses Hario UK’s filter recipe as a reference. Its brewing figures are starting points for that brewer, not universal grinding rules.
- Prepare the brewer. Fit and rinse the paper filter, then discard the rinse water. Have enough water ready for the rinse and the brew so that the grounds do not sit waiting afterwards.
- Weigh the beans. Measure 15 g into a clean, dry container. For this example, use 250 g of brewing water, approximately 250 ml when measured cold. That is a coffee-to-water ratio by weight of approximately 1:16.7.
- Set the grinder. Start at the manufacturer’s medium-fine filter recommendation. Follow its adjustment procedure, including any instruction to run the motor while moving finer.
- Grind the dose. Load within the grinder’s capacity. Turn a manual grinder steadily in its specified direction, or operate an electric grinder according to its instructions. Stop when grinding is complete, rather than applying a universal number of seconds.
- Check the grounds. Weigh the output in a tared container. Record any difference from the input before transferring the grounds to the brewer.
- Make the reference brew. Use water at 92 to 96 degrees Celsius. Wet the grounds thoroughly, wait around 30 seconds, then continue pouring to 250 g total water. Hario’s guide suggests an overall process of around 2 minutes 30 seconds.
- Taste and record. Note the setting, ground dose, brew time and flavour. On the next attempt, make a small grind adjustment while keeping the other parts of the routine unchanged.
Do not discard a pleasant brew because it misses the reference time. The purpose of this exercise is to give your grind adjustment a consistent test, not to turn the timer into a pass-or-fail judge.
Manual Coffee Grinding
Set the grind before loading beans unless your manual specifies otherwise. Where adjustment involves finding a zero point, follow the maker’s procedure gently: do not tighten the dial hard against its stop. Some grinders use external numbered collars, while others require counting clicks from a reference position.
Secure the grounds container and fit the handle correctly. Hold the body firmly in a comfortable position and rotate in the specified direction. For example, 1Zpresso’s E-Series instructions specify clockwise grinding, but check your own model rather than assuming that every mechanism is identical.
For a repeatable technique, keep the grinder’s position and your turning action reasonably consistent. There is no need to race. Continue until the beans have passed through and the normal grinding resistance disappears, then stop rather than spinning the empty mechanism unnecessarily.
If the handle locks, do not wrench it through the obstruction. Stop, empty what you can safely remove, and follow the maker’s jam-clearing instructions. Never put fingers or tools into the burrs while turning the handle.
There is no single correct grinding time for a hand grinder. Use completion of the dose as the endpoint, and keep any timings you record specific to your grinder, setting and coffee. If a batch exceeds the hopper’s stated capacity, split it rather than packing the beans down.
Electric Coffee Grinding
Put the grinder on a stable, dry surface and seat the grounds bin or receiving container correctly. Keep the lid and other guards fitted during operation.
With single dosing, you weigh one brew’s beans before loading them. With a hopper-fed routine, beans remain in the hopper and you dispense a dose from that supply. In either case, check the mass of grounds you will actually brew rather than assuming the grinder has delivered the intended amount.
Follow the model’s adjustment instructions closely. Baratza advises running its grinders during significant moves towards a finer setting because beans trapped between the burrs can otherwise be compressed. That is manufacturer-specific guidance, not permission to disregard another grinder’s manual.
After a substantial setting change, retained grounds may still reflect the previous setting. Where the manufacturer recommends it, grind a small separate quantity to clear those transitional grounds before assessing the next brew.
If your electric grinder uses blades, operating time controls how far the beans are chopped rather than selecting a burr gap. It offers less control over particle uniformity. Keep the batch and operating routine consistent, follow the manual, and do not expect a setting chart for burr grinders to translate directly.
For a fuller explanation of particle variation, see the grind consistency guide.
Static, retention and the Ross Droplet Technique
Separate static from retained coffee
Static is electrical charge generated as coffee particles fracture and rub during grinding. It can make grounds cling to surfaces or scatter around the receiving container.
Retention means coffee left inside the grinder, including its chamber and exit chute. Static can contribute, but coffee can also remain in internal spaces or accumulate around a restricted outlet.
Weighing input and output is a useful everyday check, not a complete retention test. Equal masses do not prove that all the grounds are new: some coffee from the previous dose can leave while some of the current dose stays behind. Treat the result as a dosing check rather than a laboratory measurement.
Use only the grinder’s intended clearing features, such as its supplied knocker or bellows, following the instructions. Do not hit the body or insert anything into an operating grinder.
Use RDT only if the manufacturer permits it
The Ross Droplet Technique, usually shortened to RDT, involves adding a very small quantity of water to whole beans before grinding to reduce static.
Controlled laboratory experiments published in Matter in 2024 found that added water reduced electrical charging and particle clumping. The researchers also observed changes in espresso flow and extraction under their experimental conditions. Those results do not establish that every grinder needs water or that every drink will taste better.
Check your grinder manufacturer’s advice first. RDT may be unsuitable for some grinders, and research on static reduction does not establish long-term compatibility with every burr, bearing or electrical assembly.
If the manufacturer permits it, use only the very small amount it recommends. Apply it to the weighed beans in a separate container and distribute it before loading. Do not pour or spray water into the grinder, soak the beans, or dampen coffee that will remain stored in a hopper.
There is no universal safe spray count: atomisers dispense different amounts. If the manufacturer gives no clear approval or method, skip RDT and use its recommended dry routine.
Cleaning the grinder
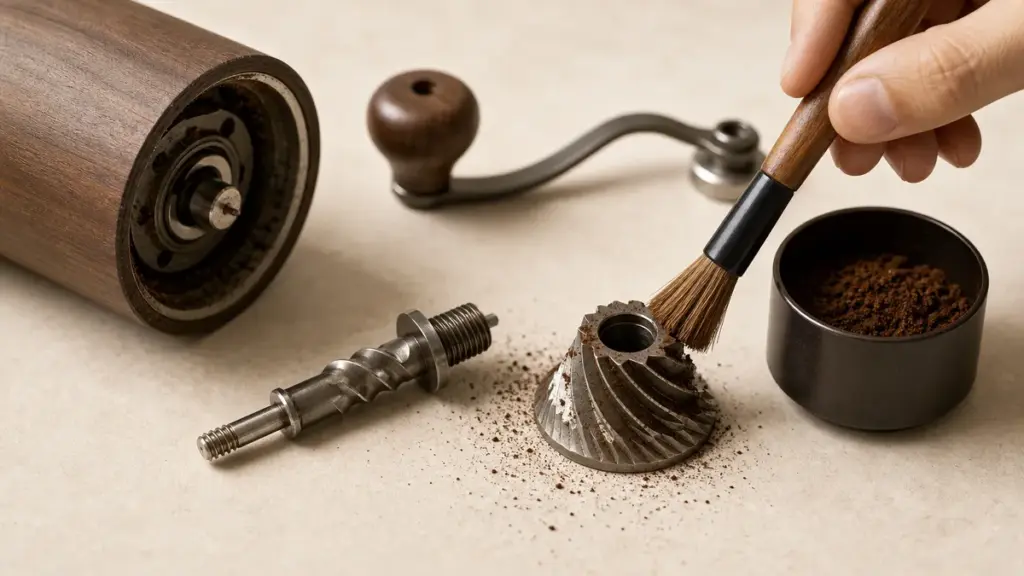
Coffee oils and small particles can accumulate in the grinding chamber and chute, affecting flow and increasing the risk of blockages. Cleaning is therefore part of a repeatable grinding routine, not merely tidying the worktop.
After use, remove loose grounds from accessible areas with a suitable dry brush. For deeper cleaning, follow the model’s disassembly instructions and keep track of the order and orientation of parts.
For an electric grinder, switch off and unplug before removing components or reaching inside. Do not assume every removable part is washable: some manufacturers allow washing detached plastic hoppers and bins, while others specify dry cleaning for the grinder. Any permitted washed parts must dry thoroughly before refitting.
Use cleaning products only where the manufacturer approves them. Do not substitute rice: Baratza warns that rice fragments can strain or jam its grinders and leave residue.
Follow the maker’s cleaning schedule, then check assembly and the grind setting before brewing again. A useful maintenance note records what you removed and the setting that worked before cleaning.
Troubleshooting your grinding routine
These checks address handling and operation. For the wider brewing consequences, read about the impact on brewing.
| Symptom | Likely cause | Fix |
|---|---|---|
| Grounds scatter or cling to the bin | Static generated during grinding | Follow the maker’s anti-static advice; consider RDT only if approved |
| Less coffee comes out than went in | Retained grounds, spillage or an obstructed chute | Check the receiving container, then inspect and clean safely |
| The first brew after changing settings behaves unexpectedly | Grounds from the previous setting remain inside | Use the manufacturer’s recommended clearing or purging routine |
| A manual handle locks or an electric grinder stalls | Trapped material or a blockage | Stop; unplug an electric grinder and follow the jam-clearing instructions |
| A filter brew drains unusually slowly | Grind may be too fine for that recipe | Try a small coarser adjustment while keeping the recipe unchanged |
| Grind changes unexpectedly after cleaning | A component may not be seated correctly | Check reassembly against the manual before changing calibration |
FAQ
Can I grind coffee the night before?
Yes, but grinding immediately before brewing better limits the period in which grounds lose aroma and undergo staling. If advance preparation is necessary, keep the grounds sealed rather than exposed in the grinder’s bin. There is no single freshness deadline that applies to every coffee, package and storage condition.
Can I put ground coffee through the grinder again?
Do not regrind coffee unless the manufacturer explicitly permits it. Baratza lists regrinding among the causes of clogs in its grinders. If a dose is too coarse, adjust the setting for the next batch rather than feeding the grounds back through to rescue the current one.
Does a timed electric grinder replace weighing?
No, a timer controls operating duration, not a direct measurement of the grounds delivered. Weigh the output when establishing a routine and check it again after changing coffee or settings. Treat the timer as a convenient dispensing control, with the scales providing the check on your brewing dose.
Where to go next
Use Coffee Grind Size Chart to choose a starting texture, then read Coffee Grind Size and Consistency: The Complete Guide to understand what your grinder produces. Impact on Brewing explains the consequences in the cup, while Grind Size and Extraction maps the wider topic once your basic how-to-grind-coffee routine is repeatable.
Sources
Manufacturer pages below are operating guidance, not independent performance tests. Where a page supplies no publication year, it is marked undated rather than assigned an invented date.
-
Specialty Coffee Association, Coffee Decoded: What is “freshly roasted” coffee?, undated, retrieved November 2026.
https://sca.coffee/sca-news/coffee-decoded-9-fresh-coffee
Used for grinding, degassing, aroma loss and staling. -
Hario UK, Expert V60 Brew Guide, undated, retrieved November 2026.
https://www.hario.co.uk/pages/brew-guides-v60-expert
Used for the reference dose, water quantity, temperature, bloom and brewing time. -
1Zpresso, User Manual: E-Series, undated, retrieved November 2026.
https://1zpresso.coffee/manual-e-en/
Used for manual operation, rotation direction and dry cleaning. -
1Zpresso, FAQ, undated, retrieved November 2026.
https://1zpresso.coffee/faq/
Used for adjustment precautions and cleaning advice. -
Baratza, Switching Grind Settings with Confidence, undated, retrieved November 2026.
https://www.baratza.com/en-us/blog/product-guides/switching-grind-settings-with-confidence
Used for finer adjustments, retained grounds, purging and recording settings. -
Baratza, Grinder Cleaning Essentials: Routine Care & How to Prevent Clogs, undated, retrieved November 2026.
https://www.baratza.com/en-us/blog/cleaning/grinder-cleaning-essentials
Used for residue, blockages, cleaning and the warning against regrinding. -
Baratza, Common Grinding Myths, undated, retrieved November 2026.
https://www.baratza.com/en-au/blog/product-guides/common-grinding-myths
Used for the warning against cleaning with rice. -
Méndez Harper and colleagues, Moisture-controlled triboelectrification during coffee grinding, Matter, volume 7, issue 1, 2024, pages 266 to 283.
https://www.sciencedirect.com/science/article/pii/S2590238523005684
Full-text manuscript retrieved from the US National Science Foundation public-access repository: https://par.nsf.gov/servlets/purl/10508770
Used for electrical charging, RDT and the limitations of applying experimental results to everyday grinding. -
Starbucks Coffee at Home, Ways to Grind Coffee Beans, undated, retrieved November 2026.
https://athome.starbucks.com/grinding-your-coffee-beans
Used for the distinction between burr and blade grinding.
This article was researched using SCA freshness guidance, manufacturer operating instructions and a peer-reviewed experimental study; the reference brewing routine is adapted from Hario UK, not presented as first-hand testing.
Last checked: November 2026