Office coffee machine installation starts with a site survey, followed by any necessary electrical and plumbing work, connection, commissioning and staff training. The machine should only enter normal use once its supplies, drainage, water treatment and safety arrangements have been checked and the workplace has received a documented handover.
In short
- Confirm the exact machine configuration before preparing sockets, pipework or counter openings.
- Survey access, counter strength, ventilation, water isolation, drainage and space for cleaning.
- Measure incoming total and carbonate hardness separately, then configure filtration and machine settings using the relevant manufacturers’ instructions.
- Commissioning means proving the installation works safely, not simply producing the first coffee.
- Keep a signed handover covering isolation points, settings, test results, training and maintenance responsibilities.
Before installation: survey the whole tea point
Arrange the survey before agreeing the final installation date. Give the supplier the exact machine specification, including its milk fridge, payment equipment, cup warmer and any under-counter waste arrangements.
Ask for a written installation drawing and a schedule of work showing what the supplier will do and what your workplace must arrange. Record who is responsible for electrical work, plumbing, counter alterations, delivery access and removing packaging.
Check the position and delivery route
Measure doorways, lifts and the route from unloading point to tea point. Confirm who will move the machine into position and whether building-management approval or restricted delivery hours apply.
At the counter, check:
- Support for the installed machine, accessories and filled containers.
- Clearance for ventilation, opening doors and filling bean hoppers.
- Access to filters, isolation valves, sockets and waste connections.
- Room to remove drip trays and grounds containers without moving the machine.
- A practical route between the machine, sink, milk storage and cleaning supplies.
Clearances are model-specific. Franke’s A600 operating instructions, for example, warn that inadequate clearance can cause heat accumulation and faults. Do not copy another machine’s installation dimensions.
Use the installation and maintenance hub to plan the continuing responsibilities alongside the installation itself.
Give the installer a realistic demand estimate
Headcount is a starting point, not a machine-capacity rating. The following is an illustrative planning calculation, assuming every person present makes two drinks daily.
| People present daily | Assumed drinks per person | Calculated drinks daily | Survey question |
|---|---|---|---|
| 10 | 2 | 20 | Who refills water and empties waste? |
| 25 | 2 | 50 | What happens during the busiest break? |
| 50 | 2 | 100 | Can the proposed arrangement handle peak demand? |
Replace these assumptions with your attendance pattern, visitor use and drink mix. Give the supplier the likely busiest period as well as the daily total, and ask them to explain how the proposed installation will accommodate it.
Prepare power, water and drainage
Power and sockets
Check the electrical requirements for the exact machine and every accessory. A familiar-looking countertop machine is not evidence that an ordinary socket is suitable.
As a manufacturer-published example, Franke’s September 2025 leaflet for the new A600 lists different electrical configurations, including 16 A and 30 A versions. Those are claimed requirements for particular configurations, not general office-machine specifications.
Have a suitably competent electrician confirm the supply, circuit protection, connection method and means of isolation where electrical work is needed. HSE advises providing sufficient sockets, avoiding overloaded outlets and preventing trailing cables.
Do not plan around an improvised extension lead. Resolve the permanent connection before delivery, using the detailed plumbing and electrical requirements guide for the supporting checks.
Water supply and isolation
For a plumbed-in machine, have the installer verify drinking-water quality, pressure, available flow and inlet temperature against the machine’s documentation. Record the results, rather than writing only “water supply suitable”.
For illustration, Franke’s September 2025 new A600 leaflet specifies an inlet temperature below 25°C. This is a model-specific manufacturer requirement, not a universal installation temperature.
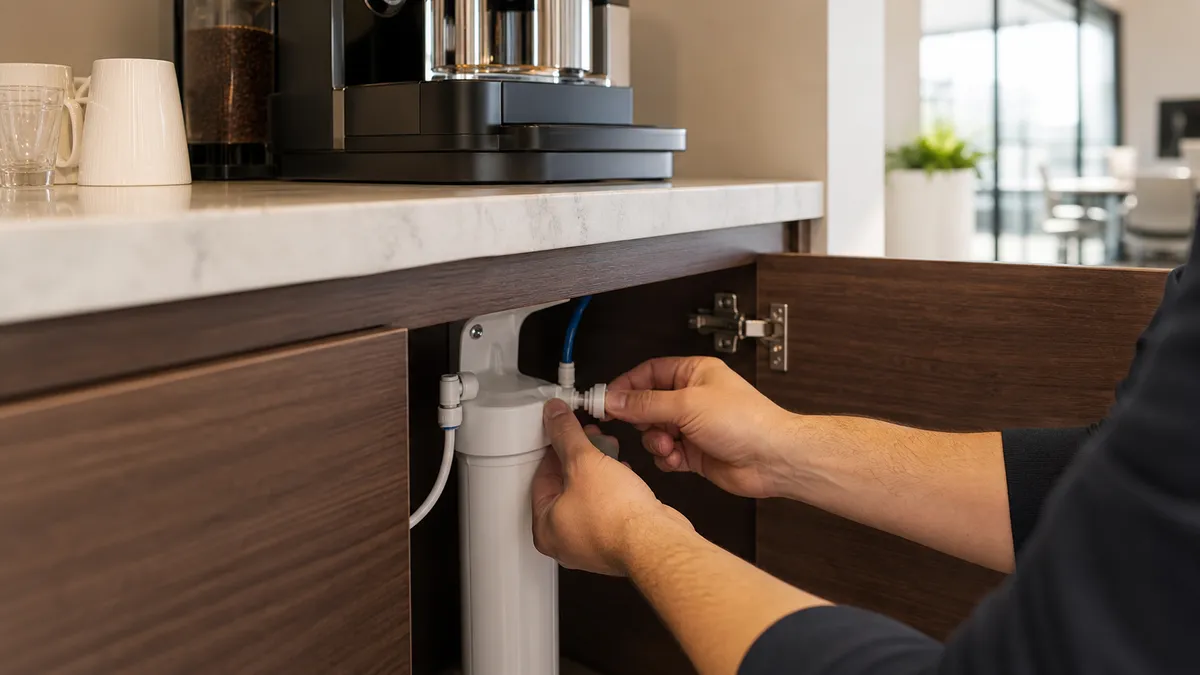
Provide an accessible isolation valve and demonstrate its location during handover. Photograph the route and connections before enclosing them, and record which valve serves the machine.
A tank-fed machine avoids a permanent mains-water connection, but still needs an agreed refill routine and suitable water treatment.
Backflow protection
Backflow is unwanted reverse movement of water that could contaminate the drinking-water supply. A filter cartridge is not evidence that adequate backflow protection has been provided.
In England and Wales, the Water Supply (Water Fittings) Regulations 1999 require protection appropriate to the downstream fluid category, meaning the contamination risk. Scotland has separate byelaws, and Northern Ireland has separate regulations.
Ask the installer to document the protection required for the exact machine and installation, including any acceptable built-in arrangement. Do not assume that one particular check valve suits every machine.
Water Regs UK also advises checking advance-notification requirements with the local water supplier. Resolve any required notification or consent before work begins.
Drainage
Confirm whether the chosen configuration uses a permanent drain, removable wastewater container or drip tray. The installer should follow its specific instructions for hose size, routing and waste connection.
Do not accept a drain arrangement merely because water disappears during one rinse. Include repeated rinsing and normal drink preparation in the acceptance test, checking for leaks, backing-up and trapped or strained hoses.
Where waste is collected manually, name the person responsible for checking and emptying it.
Installation day: connection and commissioning
The following is a recommended acceptance sequence for the workplace and installer. It is not a substitute for the machine’s installation instructions.
-
Inspect and position the equipment. Check the delivered configuration and visible condition. Confirm access and clearances against the approved drawing before making connections.
-
Verify the supplies. Record electrical requirements and checks, incoming water pressure and flow, and the drainage arrangement. Keep the relevant installation records with the machine documents.
-
Test incoming water. Measure total hardness and carbonate hardness separately at the intended supply point. Record the test method, sampling point and units. Follow the test kit’s timing: for example, the strip procedure in JURA’s W8 instructions specifies one second under running water and about one minute before reading. That timing must not be transferred to a different test.
-
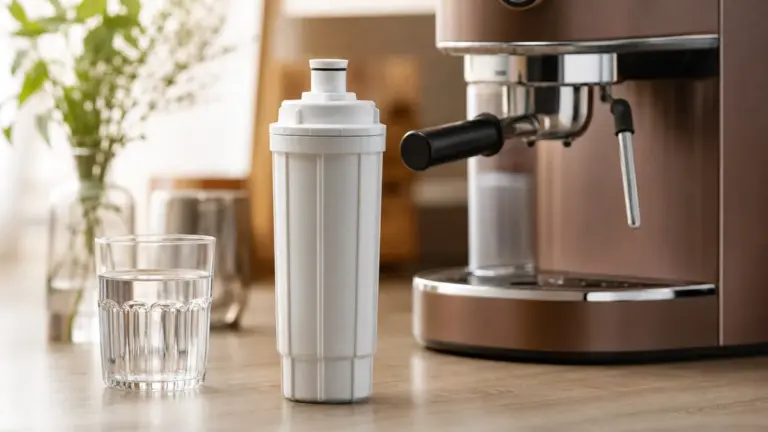
Install and configure filtration. Select the cartridge and, where adjustable, its bypass setting from the filter manufacturer’s instructions. Flush and inspect the installation as directed. Record the cartridge identity, setting, installation date and replacement basis.
-
Run the machine’s start-up procedure. Allow filling, heating and rinsing to finish in the prescribed sequence. Configure the machine’s water-hardness and filter settings according to its own instructions.
-
Set up and check drinks. Ask the technician to record accessible recipe settings, such as coffee dose in g, programmed liquid volumes in ml, temperature settings in degrees Celsius and preparation times in seconds. Distinguish programmed settings from measured outputs. There is no single correct recipe for every office machine.
-
Prove the complete arrangement. Run the agreed acceptance sequence, including consecutive drinks, milk functions where fitted, rinsing and drainage. Record results and outstanding defects before releasing the machine for general use.
Agree the installation appointment length with the supplier after the survey. Do not base staff arrangements on a generic promise that connection takes a fixed number of hours.
Set water treatment from measurements, not assumptions
Total hardness and carbonate hardness are different measurements. Machine manufacturers can specify limits for both, while filter instructions determine which measurement controls a particular cartridge’s setting.
Record both results in German degrees, °dH, or in ppm as calcium carbonate, CaCO₃, preferably with both units shown. Approximately 1°dH equals 17.8 mg/L as CaCO₃; water reports may also use Clark degrees, so check the column heading before using a result.
Your local supplier’s published hardness information is useful background. Scottish Water, for example, publishes supply-zone averages in several units. It is not a substitute for checking the actual feed during commissioning.
BRITA’s PURITY C instructions determine bypass and capacity from the cartridge, application and relevant hardness measurement. The bypass controls how water is blended through the filter arrangement; the appropriate setting is not one universal percentage.
Keep these decisions separate:
- Filter-head setting: follow the cartridge’s hardness and application table.
- Machine software: follow the machine manufacturer’s instructions for the hardness value and filter configuration to enter.
Do not automatically copy the incoming reading, filtered reading or bypass percentage into an unrelated software field. Have the installer identify what each field means, record the settings and explain the replacement trigger.
The office water filtration guide covers treatment selection in more depth.
Train staff and complete the handover
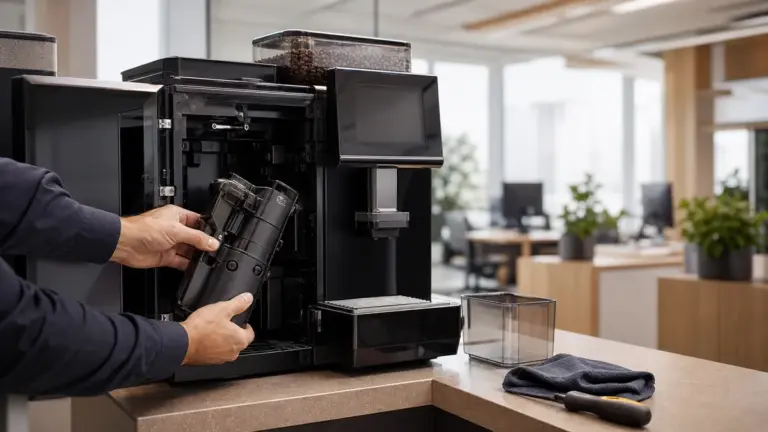
Ask the technician to demonstrate normal operation, then have the nominated workplace operator perform it. Include starting and stopping, refilling, emptying waste, responding to prompts, cleaning preparation and locating the instructions.
Make the boundary clear: staff operate and carry out the prescribed user maintenance; technical faults go to the appropriate service contact.
Confirm pressure-system responsibilities
In Great Britain, machines incorporating steam pressure systems can fall under the Pressure Systems Safety Regulations 2000. HSE identifies steam at any pressure as a relevant fluid.
Ask the supplier and, where applicable, the competent person to confirm the machine’s status and required arrangements. HSE says qualifying equipment needs a written scheme of examination and an examination before use. An installation signature or routine service does not replace these requirements.
Sign-off checklist
Use a dated record signed by the installer and workplace representative:
- [ ] Machine configuration, serial number and location recorded.
- [ ] Electrical requirements, connection and isolation details handed over.
- [ ] Water-isolation valve located and demonstrated.
- [ ] Backflow arrangement and any notification paperwork documented.
- [ ] Incoming hardness results, filter details, bypass and software settings recorded.
- [ ] Drainage or wastewater-emptying arrangements demonstrated.
- [ ] Commissioning results and agreed drink settings supplied.
- [ ] Staff training completed and instructions accessible.
- [ ] Cleaning, filter replacement, servicing and examination responsibilities allocated.
- [ ] Outstanding defects assigned an owner and completion date.
For procurement, request itemised written quotations separating equipment, enabling works, installation, filtration, training and continuing support. To assess your own running requirements, list expected drinks, bean doses, milk use, cleaning materials, filter changes and service arrangements rather than assuming they are all included.
Check early problems before accepting the installation
These are possible causes to investigate, not diagnoses.
| Symptom | Possible installation-related cause | Safe response |
|---|---|---|
| Machine will not fill | Closed isolation valve, restricted hose or unsuitable supply | Ask the installer to verify the feed; do not open the casing |
| Water appears beneath the counter | Leaking connection or displaced waste hose | Stop use and follow the agreed isolation procedure |
| Drip tray backs up | Restricted drainage or an incorrectly arranged waste route | Stop dispensing and have the installer inspect it |
| Electrical protection trips | Electrical fault or unsuitable supply arrangement | Stop use and obtain competent assessment; do not repeatedly reset |
| Filter reminder seems unexpected | Incorrect configuration or replacement counter | Have settings checked against the commissioning record |
Treat unresolved safety or contamination concerns as reasons to withhold acceptance. A working drink button is only one part of a completed installation.
FAQ
Can our facilities team install the machine?
Your facilities team can coordinate preparation, but technical work should only be undertaken by people competent for the task and permitted by the supplier’s installation requirements. Confirm who may connect, commission and alter settings before delivery. Keep plumbing, electrical and machine-commissioning responsibilities explicit rather than assuming that one contractor covers everything.
Should someone from the office attend throughout?
Arrange attendance for the initial checks and the complete handover, with a named contact available during the work. The installer needs someone authorised to resolve positioning or access questions. The person taking operational responsibility should attend training and receive the commissioning record, rather than relying on instructions passed through colleagues afterwards.
What if we move the machine later?
Treat relocation as another installation assessment, not simply a change of furniture position. Ask the supplier to check the new location’s supplies, drainage, clearances and water treatment before moving it. Update the isolation details and handover record, and agree any transport, draining or recommissioning procedure required for that machine.
Where to go next
Use Office Coffee Installation and Maintenance to organise responsibilities after this office coffee machine installation guide. Read Plumbing and Electrical Requirements before preparing the tea point, and Office Coffee Machine Water Filtration when agreeing treatment and commissioning settings.
Sources
-
Franke, The new A600: product leaflet and technical data, September 2025, document 590.0739.809. Manufacturer-published requirements, not independent performance testing.
Source PDF. -
Franke, A600 Original operating instructions, document 20109362, revision 04, 27 August 2024. Manufacturer-authored manual retrieved through a third-party document archive.
Source document. -
BRITA, PURITY C instruction manual, English edition, publication year not stated in the retrieved document.
Source PDF. -
JURA, W8 (NAA) Instructions for Use, publication year not established from the retrieved edition. Used only for its explicitly identified hardness-test procedure, not UK electrical requirements.
Source PDF. -
Scottish Water, Hardness calculations using the average results for 2024 for calcium and magnesium from regulatory supply zones, 2025.
Source PDF. -
Health and Safety Executive, Introduction to electrical safety, current online guidance, publication year not displayed.
Source page. -
UK legislation, The Water Supply (Water Fittings) Regulations 1999, SI 1999/1148, especially Schedule 2, paragraph 15.
Source PDF. -
Water Regs UK, All FAQs, current online guidance on notification, national rules and backflow protection, publication year not displayed.
Source page. -
Health and Safety Executive, Pressure Systems Safety Regulations 2000 (PSSR), current online guidance, publication year not displayed.
Source page.
Research combined manufacturer installation documents with water-industry, statutory and HSE guidance; the planning matrix and acceptance checklist are editorial tools, not statutory forms or first-hand test results.
Last checked: November 2026