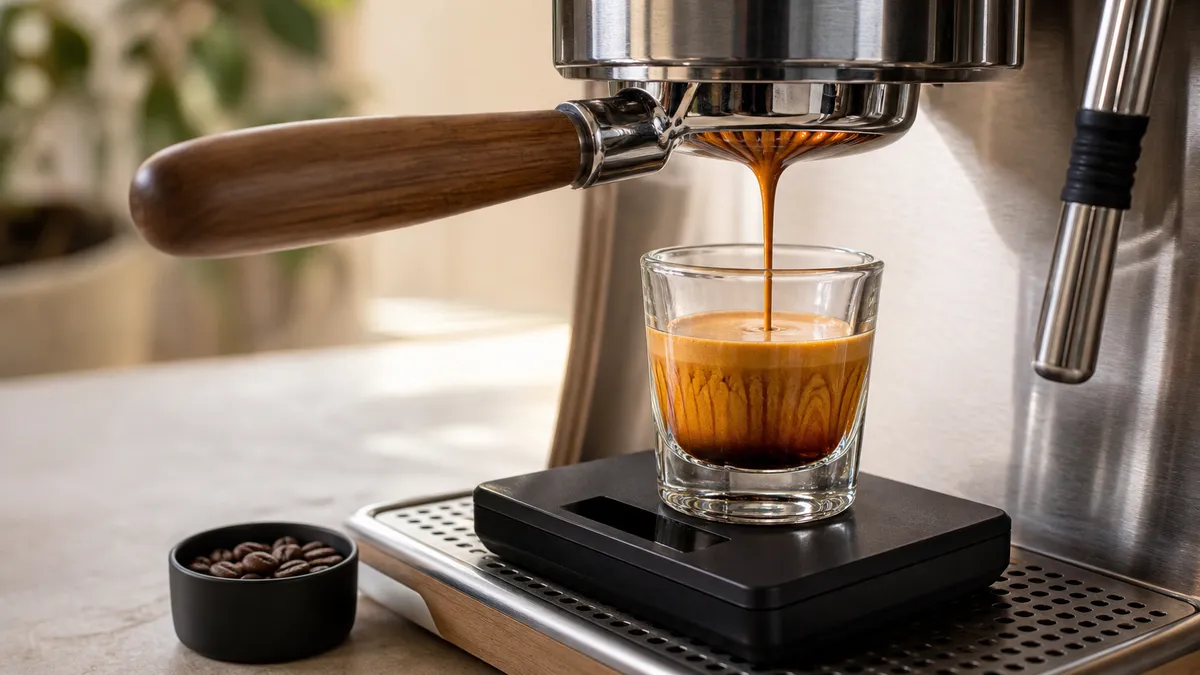
Espresso dialling in means adjusting your recipe until the coffee tastes balanced, then making it repeatable. Start with 18 g of ground coffee and 36 g of espresso, a 1:2 brew ratio, aiming initially for about 26 to 30 seconds; keep the dose fixed, adjust the grind to establish sensible flow, then refine the yield by taste.
In short
- Choose a dose that suits your basket, rather than forcing every basket to hold 18 g.
- Weigh the espresso in grams. Your target is beverage mass, not a volume in millilitres.
- Start the timer when the pump starts, and record any pre-infusion.
- Sourness and bitterness are clues, not measurements of extraction.
- Record dose, yield, time and grind setting. Change one input at a time.
Understand dose, yield and time
Dose is the mass of dry ground coffee in the portafilter basket. Yield is the mass of finished espresso in the cup. Time is the duration of the shot, using a clearly defined starting point.
The espresso brew ratio expresses dose to yield by weight. An 18 g dose producing 36 g of espresso is 1:2: one part dry coffee to two parts finished drink. It does not mean that only 36 g of water entered the coffee bed.
For this method, measure time from pump activation to pump stop, including any programmed pre-infusion, the initial wetting stage before full brewing pressure. If another recipe counts from the first drip, its timing is not directly comparable.
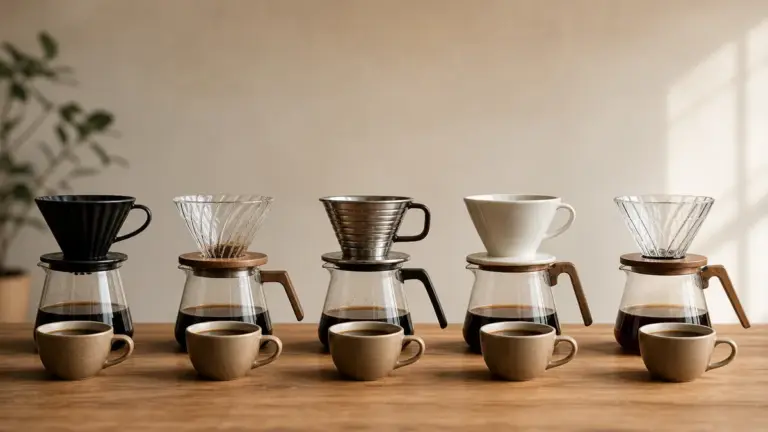
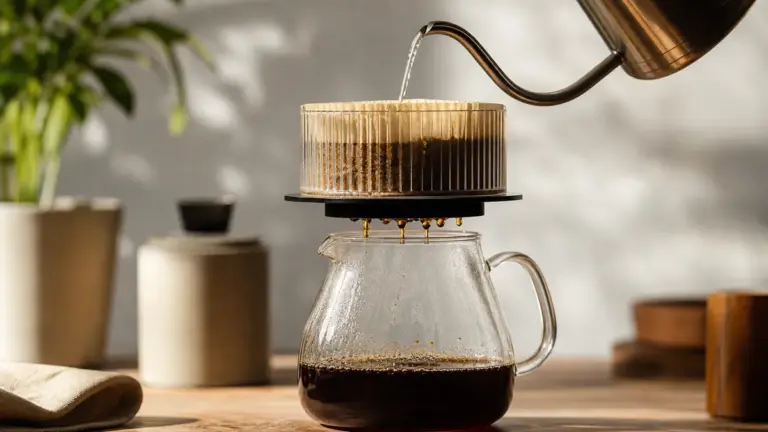
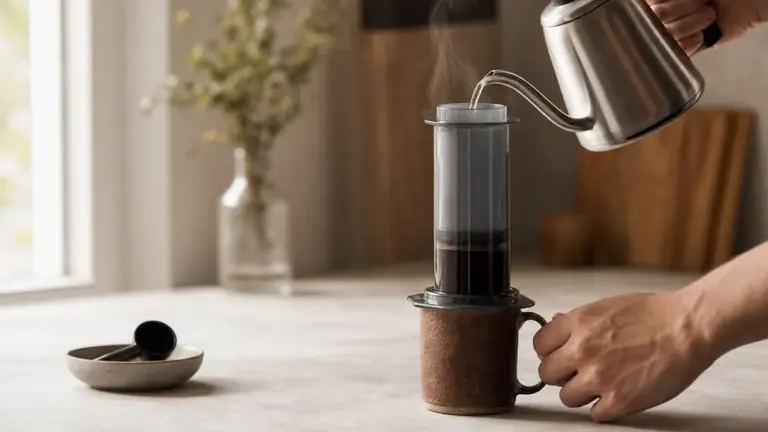
Think of dose as your anchor, yield as your main flavour and concentration adjustment, and time as useful feedback. For the equipment and drink itself, see espresso basics; the wider brewing methods guide puts this process alongside other ways of making coffee.
Set a starting recipe
Use the roaster’s recipe first if one is supplied for comparable equipment. Otherwise, try this baseline:
- Coffee: 18 g, provided that suits the basket’s specified capacity.
- Espresso yield: 36 g.
- Ratio: 1:2, dose to beverage mass.
- Time: initially 26 to 30 seconds from pump start.
- Brew temperature: 93 degrees Celsius if adjustable.
These are starting settings, not a quality standard. La Marzocco publishes comparable recipes, but the best result still depends on the coffee and equipment.
You need an espresso-capable grinder, scales, a timer, a suitable basket and tamper. A plain cup of approximately 90 ml is a practical choice for this exercise, not a requirement or a way to measure yield.
Keep temperature and any pressure or pre-infusion settings unchanged while learning the dose, yield and grind relationship. Follow your machine’s warm-up instructions rather than assuming that an illuminated ready light tells you everything about preparation.
Espresso dialling in: a numbered method
1. Choose and weigh the dose
Check the basket manufacturer’s recommended dose range. If yours is designed for a different amount, use that amount and calculate an initial yield at twice the dose.
Weigh the grounds actually going into the basket. Do not assume that a timed grinder setting delivers exactly the same mass each time.
2. Prepare the coffee bed consistently
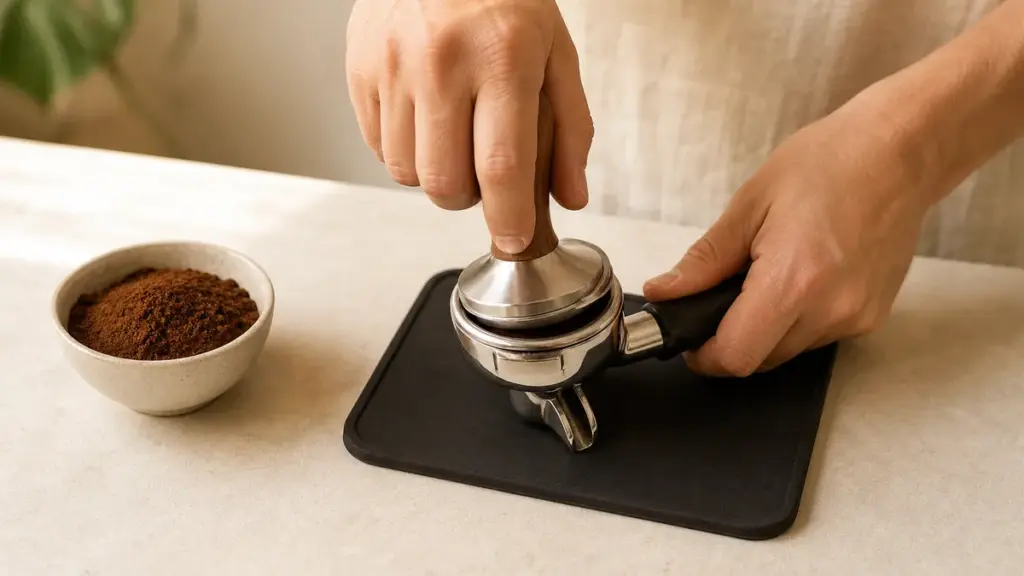
Distribute the grounds evenly, then tamp level. The compacted bed of coffee is called the puck.
Aim for a repeatable routine rather than changing tamping technique to manipulate shot time. A dose that touches the shower screen before brewing needs attention before you start chasing grind settings.
3. Weigh and time the first shot
Place the cup on the scales and tare them to zero. Start brewing and timing together.
Stop the pump to finish as close as possible to your target yield. Note the final beverage mass after the remaining drips, alongside the pump-stop time.
4. Establish sensible flow with grind changes
If the target yield arrives much too quickly, try a finer grind. If the machine struggles to produce it and the coffee barely drips, try coarser.
Keep dose and target yield unchanged for this comparison. Follow the grinder’s instructions for adjustment and clear retained grounds as required, so the next shot represents the new setting rather than a mixture of old and new grounds.
5. Taste before making another change
Stir the espresso and let it become comfortable to sip. Write a short description: sharp and thin, sweet and rounded, bitter and drying, or simply too concentrated.
Do not discard a pleasing shot because its time sits outside the starting window. Equally, a shot that hits every target can still taste unpleasant.
6. Adjust yield to refine the balance
Once flow is reasonably consistent, keep dose and grind fixed and compare a different yield.
As an illustrative trial, increase a 36 g yield to 40 g if the espresso is sharply sour and concentrated. Try 32 g if it seems excessively drawn out and bitter. These are deliberately chosen comparison points, not universal recipes.
The shot time will change as a consequence. That is still a one-input experiment: you changed the stopping weight, not the grinder as well.
7. Confirm and save the result
Repeat the preferred recipe before calling it dialled in. If the result changes markedly without an intentional adjustment, investigate consistency before refining the flavour further.
Save the successful settings and a tasting note. The useful endpoint is a recipe you can reproduce, not one fortunate shot.
Adjust by taste, not by a rigid target
Increasing yield at a fixed dose generally extracts more material while reducing concentration. Reducing yield generally gives a more concentrated drink with less extraction. Strength and extraction are different: an intense espresso can still be poorly extracted.
This is why a longer yield can help an overpoweringly sharp espresso yet make an already thin drink less satisfying. For the differences between shorter and longer espresso styles, see ristretto and lungo.
When the espresso tastes sour
Sharp sourness with little sweetness can suggest insufficient extraction. First check whether the shot rushed through or whether preparation was inconsistent; then compare a finer grind or a longer yield, separately.
However, sourness does not prove under-extraction. Consider the coffee’s own characteristics, the roaster’s intended flavour profile and your water before repeatedly grinding finer.
When the espresso tastes bitter
A shorter yield may improve a bitter, drying finish, particularly when the existing shot feels stretched and weak. If flow is exceptionally slow, compare a coarser grind while keeping the original dose and yield.
Do not treat every bitter note as evidence that the shot ran too long. Bean and roast characteristics matter: La Marzocco’s guidance generally favours shorter ratios for darker roasts and longer ratios for lighter ones, while leaving room for preference.
When sourness and bitterness appear together
Mixed sharpness, bitterness and thinness can indicate uneven extraction. Channelling is preferential water flow through some parts of the puck, leaving others less effectively contacted.
Check distribution, level tamping and basket loading before extending the shot. Grinding finer indefinitely can make matters worse rather than extracting everything more evenly.
Troubleshooting your espresso
Treat these as starting hypotheses. Compare the next shot with the previous one before deciding that a diagnosis was correct.
| Symptom | Likely cause | First fix |
|---|---|---|
| Target yield arrives very quickly | Grind too coarse, or uneven preparation | Check preparation; if repeatable, grind finer |
| Very slow drips or almost no output | Grind too fine, or unsuitable basket loading | Check dose against basket guidance; try coarser |
| Sharp, concentrated espresso | Yield too short for this coffee, or insufficient extraction | Compare a longer yield at the same dose and grind |
| Bitter, thin, drawn-out finish | Yield too long for the preferred balance | Compare a shorter yield |
| Sour and bitter in the same shot | Uneven extraction may be involved | Improve distribution; consider whether the grind is excessively fine |
| Results change after a grind adjustment | Retained grounds may obscure the change | Clear retention according to the grinder instructions |
Why a slower shot is not necessarily better extracted
Grinding finer normally slows flow, but extraction does not keep increasing without limit.
In peer-reviewed research published in Matter in 2020, Cameron and colleagues combined mathematical modelling with espresso experiments. Their measurements showed extraction falling at very fine settings, which they interpreted as evidence of uneven flow through the coffee bed. This supports caution about “finer is always better”, not a claim that every espresso should use a coarse grind.
The practical lesson is straightforward: if finer settings produce less sweetness, more contradictory flavours or less repeatable results, compare a slightly coarser setting rather than insisting on a longer time.
Water is another reason taste cannot diagnose extraction by itself. Alkalinity, water’s capacity to neutralise acids, affects the acidity reaching the cup; it is not the same as hardness. Consult your local water supplier’s report and the machine manufacturer’s water requirements rather than applying one assumed UK water profile.
SCA research guidance also distinguishes espresso from filter brewing when discussing water. Do not copy a filter-water recommendation into an espresso machine without checking equipment suitability.
Keep a useful dialling-in record
Record the coffee, roast date if supplied, dose, yield, time, grind setting and taste. Add temperature and pre-infusion settings where available.
A compact entry might read:
Illustrative entry, not a tested result: 18 g in; 36 g out; 29 seconds from pump start; grinder setting A; 93 degrees Celsius; sharp and concentrated. Next trial: keep dose and grind fixed, increase yield to 40 g.
Use your grinder’s actual markings or a repeatable reference. Settings are not transferable recipes between different grinders.
Finish each entry with one proposed change. For espresso dialling in, that final note turns tasting into a controlled comparison rather than a sequence of guesses.
FAQ
Can I dial in using pre-ground coffee?
Only to a limited extent, because you cannot adjust its grind size. You can compare yields and keep preparation consistent, but you lose the main adjustment used to bring flow into a useful range. If the supplied grind is unsuitable, changing dose repeatedly is not an equivalent substitute for grinding appropriately.
Should I increase the dose to make espresso stronger?
Not as your first flavour adjustment. Increasing dose changes several brewing conditions and may exceed the basket’s useful capacity. First distinguish a weak-tasting drink from a poorly extracted one. If you genuinely need a larger espresso for the finished drink, choose a suitable basket and establish a new dose and yield together.
Does a wet puck mean the shot was bad?
No, a wet puck alone does not establish poor flavour or extraction. Space between the coffee bed and shower screen can affect its appearance after brewing. Check basket suitability, but judge the drink by taste and repeatability rather than increasing the dose solely to obtain a drier puck.
Where to go next
Read Espresso for the method’s equipment and fundamentals, then Ristretto vs Espresso vs Lungo to explore how different yields change the drink. Brewing Methods provides the wider route through the subject when you want to compare espresso with other preparations.
Sources
-
La Marzocco Home, “How to Dial In Your Grinder for Espresso” (2017). Starting recipe, grind adjustments and grinder retention.
https://home.lamarzoccousa.com/?p=20891 -
La Marzocco Home, “Using Espresso Brew Ratios” (2022). Dose-to-yield ratios, roast-dependent starting preferences and temperature guidance.
https://home.lamarzoccousa.com/using-espresso-brew-ratios/ -
Barista Hustle, “Espresso Recipes: Analyzing Dose” (2017). Dose selection, basket capacity and puck appearance.
https://www.baristahustle.com/espresso-recipes-analyzing-dose/ -
Barista Hustle, “Espresso Recipes: Understanding Yield” (2017). Beverage mass and the relationship between yield, strength and extraction.
https://www.baristahustle.com/espresso-recipes-understanding-yield/ -
Barista Hustle, “Espresso Recipes: Time” (2017). Timing convention, grind-dependent flow and flexible time targets.
https://www.baristahustle.com/espresso-recipes-time/ -
Barista Hustle, “The Espresso Compass” (2017). Taste-led adjustments and mixed flavours from uneven extraction.
https://www.baristahustle.com/the-espresso-compass/ -
Cameron and colleagues, “Systematically Improving Espresso: Insights from Mathematical Modeling and Experiment”, Matter, volume 2 (2020). Peer-reviewed modelling and experimental extraction research.
https://pages.uoregon.edu/chendon/publications/2020/74.%20Matter%2C%20Espresso%20extraction.pdf -
Specialty Coffee Association, Marco Wellinger, “Water and Coffee Acidity: How to Adapt Your Water for Different Extraction Methods”, 25 Magazine, issue 9 (publication year not displayed on the retrieved page). Alkalinity, acidity and method-specific water guidance.
https://sca.coffee/sca-news/25/issue-9/english/water-and-coffee-acidity-how-to-adapt-your-water-for-different-extraction-methods-25-magazine-issue-9-pxjby
Researched using retrieved manufacturer brewing guides, specialist technical explanations, SCA water guidance and peer-reviewed espresso research; the worked adjustments are illustrative, not first-hand test results.
Last checked: November 2026